A lot of property managers are in the same spot right now. The gate works, the camera records, and yet nobody feels fully in control because the system only tells them what happened after the fact.
That gap is where most home camera installation projects fail. A camera at the gate isn't enough if the image is washed out at sunset, the Wi-Fi drops, or nobody can verify a visitor in real time when a resident asks for access.
The standard for residential security has moved. As of 2026, 61% of U.S. households have at least one security camera, up 19 percentage points in two years, and 87% of users say cameras increase their peace of mind, according to SafeHome's annual home security industry review. For HOAs, gated communities, and managed properties, that means residents now expect cameras to be part of everyday operations, not an optional upgrade.
Table of Contents
- Why Strategic Camera Planning Is Non-Negotiable
- Designing Your Security Camera Layout
- Choosing the Right Camera and Connection Type
- A Practical Guide to Mounting and Wiring Your Cameras
- Integrating Cameras with Smart Access Control Systems
- Verifying Your System and Ensuring Legal Compliance
Why Strategic Camera Planning Is Non-Negotiable
A successful camera project starts on paper, not on a ladder. The biggest mistake in home camera installation is treating cameras like isolated devices instead of part of the property's access and response workflow.
At a gated entrance, the goal isn't just footage. The goal is a useful record of arrivals, clear verification of visitors, and dependable coverage when somebody approaches the gate operator, keypad area, call box, or pedestrian entry.
For HOAs and multifamily properties, poor planning usually creates three problems:
- Coverage gaps: A camera sees the driveway but misses the person standing at the call box.
- Bad evidence: The unit records headlights, glare, or the top of a hat instead of a usable face shot.
- Weak operations: Staff still rely on shared codes, resident callbacks, and manual gate checks.
Practical rule: If the camera can't support a gate decision in real time, it's only doing half the job.
That's why camera placement should follow property movement, not marketing claims on the box. Start with the actual routes residents, visitors, vendors, and trespassers use. Then map how each route intersects with the gate, side access points, delivery areas, and any place a person can approach a camera or access device.
A strong plan also accounts for reliability. Entry points are where systems get exposed to glare, weather, distance, and unstable wireless coverage. A setup that works fine on a front porch often struggles at a long community entrance or detached gate operator.
The most effective layouts treat the gate as a decision point inside a larger cloud-based access control environment. That means the camera, gate operator, and access method should support each other. Video confirms who's there. Access logs show what happened. Remote controls let managers and residents respond without driving to the property or relying on outdated shared credentials.
Start with movement, not equipment
Most buying decisions happen too early. Property teams often ask whether they want PoE, Wi-Fi, or a battery camera before they've identified the exact risk points.
A better sequence is simpler:
- Trace every entry route: Main gate, pedestrian gate, pool entrance, rear service lane, and side fence openings.
- Mark every interaction point: Call boxes, gate arms, swing gates, package drop areas, and doorbell/intercom stations.
- Identify where decisions happen: Places where a resident, manager, or vendor needs visual confirmation before granting access.
- Choose the camera and connection type last: Hardware should follow the site conditions, not the other way around.
That approach produces fewer blind spots and fewer expensive re-installs.
Designing Your Security Camera Layout
Most properties don't need more cameras. They need a layout that makes sense.
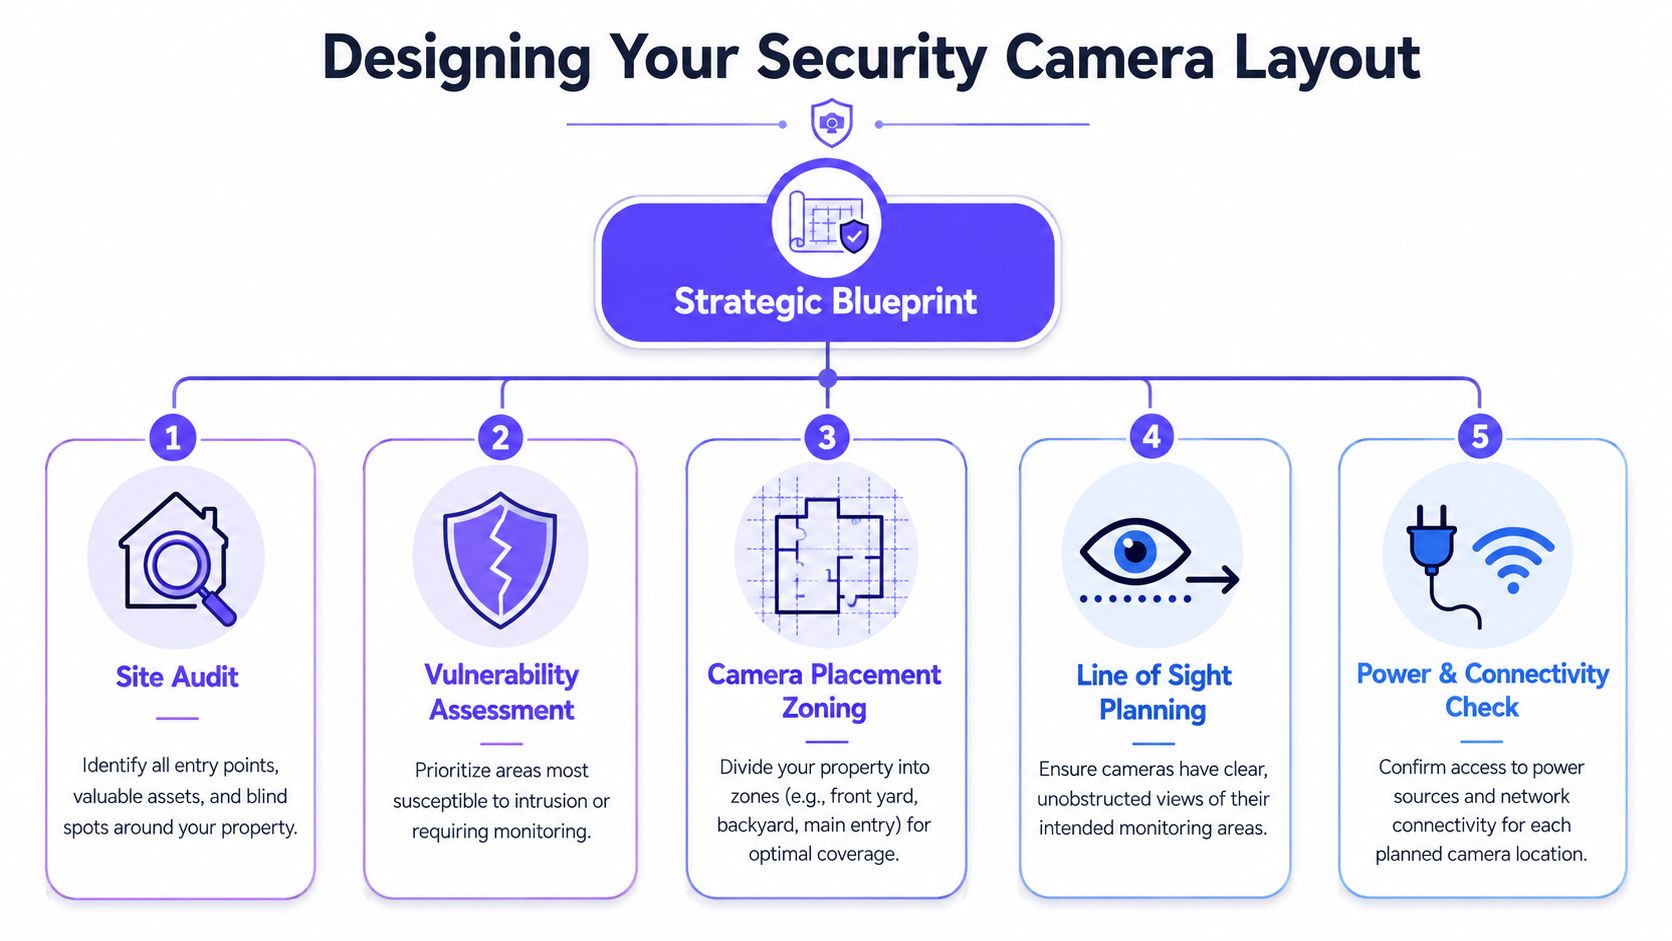
The right home camera installation plan starts with a site audit, then moves into zone design, line-of-sight checks, and connectivity validation. That process matters most at gate entrances because those areas combine moving vehicles, pedestrians, changing light, and mechanical hardware in one field of view.
A useful planning framework is below.
Start with movement, not equipment
Walk the property in the same order a visitor would. Then walk it again in the same order an intruder would.
Those are rarely the same route. Visitors go to the obvious entry point. Intruders look for shadowed approaches, side access, fence lines, and any path that lets them reach hardware without being seen.
Use this field checklist during the audit:
- Primary vehicle entry: Capture the lane approach, stop point, and gate opening area.
- Pedestrian interaction zone: Cover where a person stands to request access, not just where they were ten feet earlier.
- Side approach paths: Check whether someone can reach the camera housing or gate controls without crossing another camera's view.
- Lighting conflict areas: Review sunrise and sunset direction, reflective surfaces, headlights, and deep shade.
- Connectivity edge locations: Test signal quality where the device will mount, not where the installer is standing on the ground.
Experts recommend mounting cameras 8 to 10 feet high and angling them 15 to 30 degrees downward to capture faces effectively, according to Gen Security's camera placement guide. The same guidance also warns that 38% of camera tampering incidents occur when placement fails to cover the access paths to the camera itself, which is why layered coverage matters most around gates and perimeter posts.
Use layered coverage around the gate
Gate cameras fail when they try to do everything from one position. One device usually can't capture the approach lane, the visitor's face at the call box, the gate operator cabinet, and the path someone uses to reach the camera itself.
A better layout uses separate roles.
| Area | What the camera should do | What usually goes wrong |
|---|---|---|
| Approach lane | Show vehicle arrival and direction of travel | Headlights overpower the image |
| Call box or intercom zone | Capture face-level verification at the stop point | Camera is mounted too high or too far back |
| Gate operator area | Show tampering, tailgating, and service activity | Blind spot behind post or cabinet |
| Perimeter overlap | Cover the path toward the mounted camera | No second angle, so tampering happens off-camera |
A gate camera should always have a partner view. If one angle is the “identity shot,” the second should be the “context shot.”
Two other placement rules matter in the field.
- Don't monitor through glass. Exterior gates need exterior-rated cameras. Shooting through a window or door reduces clarity and creates glare problems.
- Run a pre-mount test before drilling. Temporary positioning reveals whether alerts trigger correctly, whether the image holds up through daylight changes, and whether the connection stays stable at the exact install point.
In gated communities, camera planning starts to overlap with access control planning. If a resident or manager will eventually use the video to make a live access decision, the framing must support that use case from the beginning.
Choosing the Right Camera and Connection Type
Connectivity decides whether the camera is dependable or decorative. A sharp image doesn't matter if the camera drops offline when a delivery driver arrives or when the gate area gets congested.
For most property managers, the decision isn't brand first. It's connection type first. That choice affects uptime, maintenance, installation complexity, and how well the system performs at exposed access points.
This side-by-side view helps.

Where each connection type works best
PoE cameras are usually the most stable choice for fixed positions where cabling is practical. One cable handles power and data, which simplifies maintenance and reduces the number of outdoor connection points that can fail.
They're a strong fit for clubhouses, building entries, garages, and gatehouses where clean cable runs are possible. They're less attractive for long detached entrances where trenching or conduit work turns a simple install into a costly infrastructure job.
Wi-Fi cameras are convenient when a property needs fast deployment and there's a strong local network nearby. They can work well at front entries, interior common areas, and short-range outdoor placements close to a dependable access point.
Their weakness shows up at gates. Distance, metal enclosures, masonry, and interference from surrounding devices often make the connection inconsistent when it matters most.
Battery-powered wireless cameras solve placement problems, not reliability problems. They're useful where wiring is difficult or where temporary coverage is needed during construction, gate repairs, or layout testing.
They're rarely the best answer for a primary entrance. Batteries create a maintenance calendar, and anything that depends on charging discipline tends to fail unannounced.
Cellular-connected cameras and gate systems are the strongest option when the location itself is the problem. That includes detached entrances, rural properties, remote outbuildings, and sites where local internet is limited or unstable.
According to this overview of 4G LTE gate access for remote properties, cellular-based gate access systems operating on 4G LTE are the most dependable solution for rural environments or any location where Wi-Fi signals are unstable or internet connectivity is limited. For critical access points, independence from local Wi-Fi is often the difference between a system that works consistently and one that requires constant troubleshooting.
What property managers should choose first
Instead of asking which camera is best overall, use the gate's conditions to narrow the choice.
- If the entrance is close to structured cabling: Start with PoE.
- If the entrance is close to the building but not easy to cable: Wi-Fi may be acceptable, but only after signal testing at mount height.
- If the placement is temporary or difficult to wire: Battery can fill a gap, but it shouldn't be the primary layer at the main gate.
- If the gate is remote, detached, or prone to internet problems: Cellular should move to the top of the list.
The worst setup at a gate is a camera with excellent specs connected by an unreliable path.
There's also a practical access control trade-off that many generic camera guides miss. Cameras at gates work best when the access system itself is just as resilient as the video system. If the camera stays online but the entry method depends on flaky local networking, the property still has an operations problem.
That's why modern managed communities increasingly favor cellular connectivity, retrofit-friendly hardware, and remote credential management over replacing every gate component at once. In the field, reliability usually beats novelty.
A Practical Guide to Mounting and Wiring Your Cameras
Good mounting work prevents most future service calls. Poor mounting creates nuisance alerts, blurry images, water intrusion, loose housings, and a camera angle that drifts out of position after a few weeks of use.
The physical side of home camera installation needs the same discipline as the planning side. That starts with the right base surface, the right anchor, and a clean cable path that won't invite moisture or accidental damage.
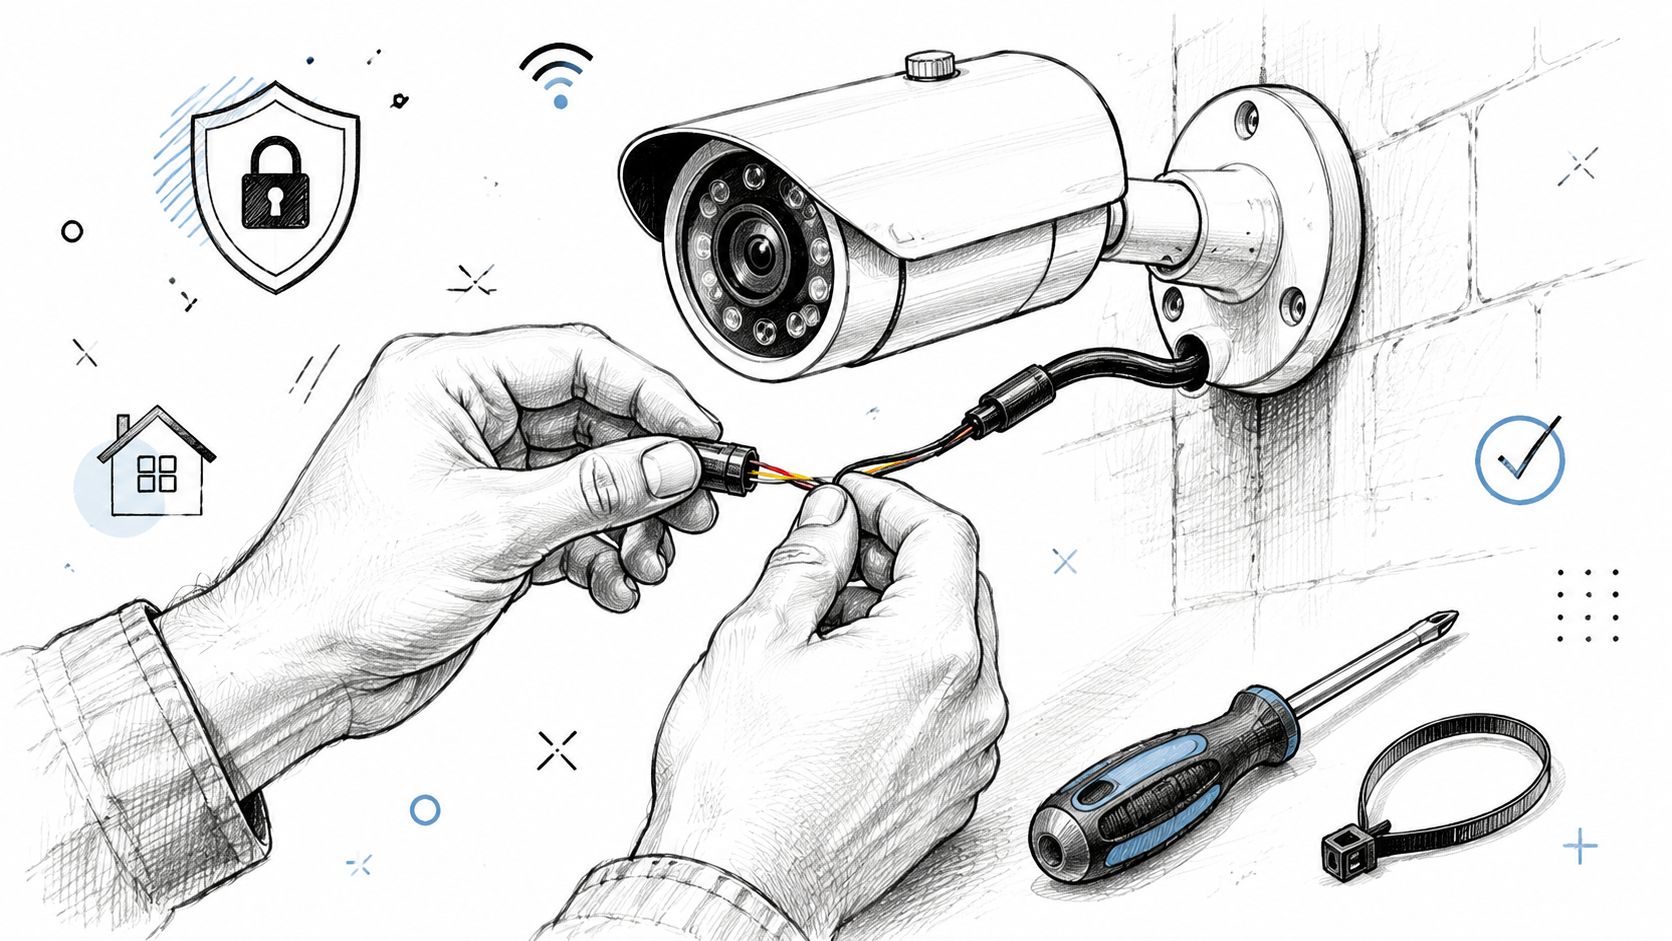
Mounting details that prevent callbacks
Before mounting, bench-test the camera indoors. Confirm power, image quality, app visibility, firmware status, and recording behavior before anyone climbs a ladder.
For exterior installs, the basic tool and material list should include:
- Correct anchors and bits: Masonry hardware for brick, block, or stucco. Wood screws only where framing supports the load.
- Weather-rated junction protection: Use sealed housings or protected connection spaces so plugs and couplers aren't exposed.
- Cable management parts: Clips, conduit where needed, and strain relief so movement doesn't stress the connector.
- Sealants used carefully: Seal entry points without trapping water inside the wrong place.
One of the most common failures at gate cameras is weak mounting on decorative surfaces. A camera attached to trim, thin cladding, or a vibrating post often shifts just enough to ruin the framing.
Mount the camera to structure, not to finish material.
Electrical quality matters too, especially when cameras are added to older entrance systems. Before tying in power or evaluating an overloaded circuit path, property teams can use Engle Services' electrical system review as a practical reference for spotting broader electrical safety issues in residential and commercial setups.
Wiring and power decisions that hold up outdoors
Clean wiring is about protection as much as appearance. Outdoor cable runs should avoid sharp bends, exposed dangling sections, and low points where water can collect around a connector.
For PoE or low-voltage runs at gates, installers should think through:
- Path protection: Keep cable out of direct damage zones near hinges, moving arms, and landscaping tools.
- Serviceability: Leave enough slack for maintenance, but not enough to snag or sag.
- Separation from gate motion: Swing and slide systems create pinch points. Cabling must stay clear of all travel paths.
- Power consistency: Wireless and cellular hardware still need dependable power even if data doesn't travel over local Wi-Fi.
When the camera project overlaps with gate modernization, it often makes sense to coordinate the work instead of treating them as separate trades. Property managers dealing with both surveillance and entry hardware can explore solving access control with professional installers when they need retrofit support around existing gate operators and low-voltage infrastructure.
Outdoor equipment also needs a final weather check before sign-off:
- Lens angle after tightening: Some housings shift slightly when fully secured.
- Water path around cable entry: Look for any route that channels moisture toward the termination.
- Night image review: Headlights and fixture glare often reveal mounting problems that aren't obvious during the day.
A polished install should look intentional. If the wiring appears temporary, the reliability usually is too.
Integrating Cameras with Smart Access Control Systems
A camera that only records is useful after a dispute. A camera tied to access control is useful before the mistake happens.
That distinction matters most at the gate. Property teams don't just need footage of who approached. They need a way to verify the visitor, grant or deny entry, and keep a clean record of what happened without relying on shared codes, paper logs, or staff walking back and forth to the entrance.
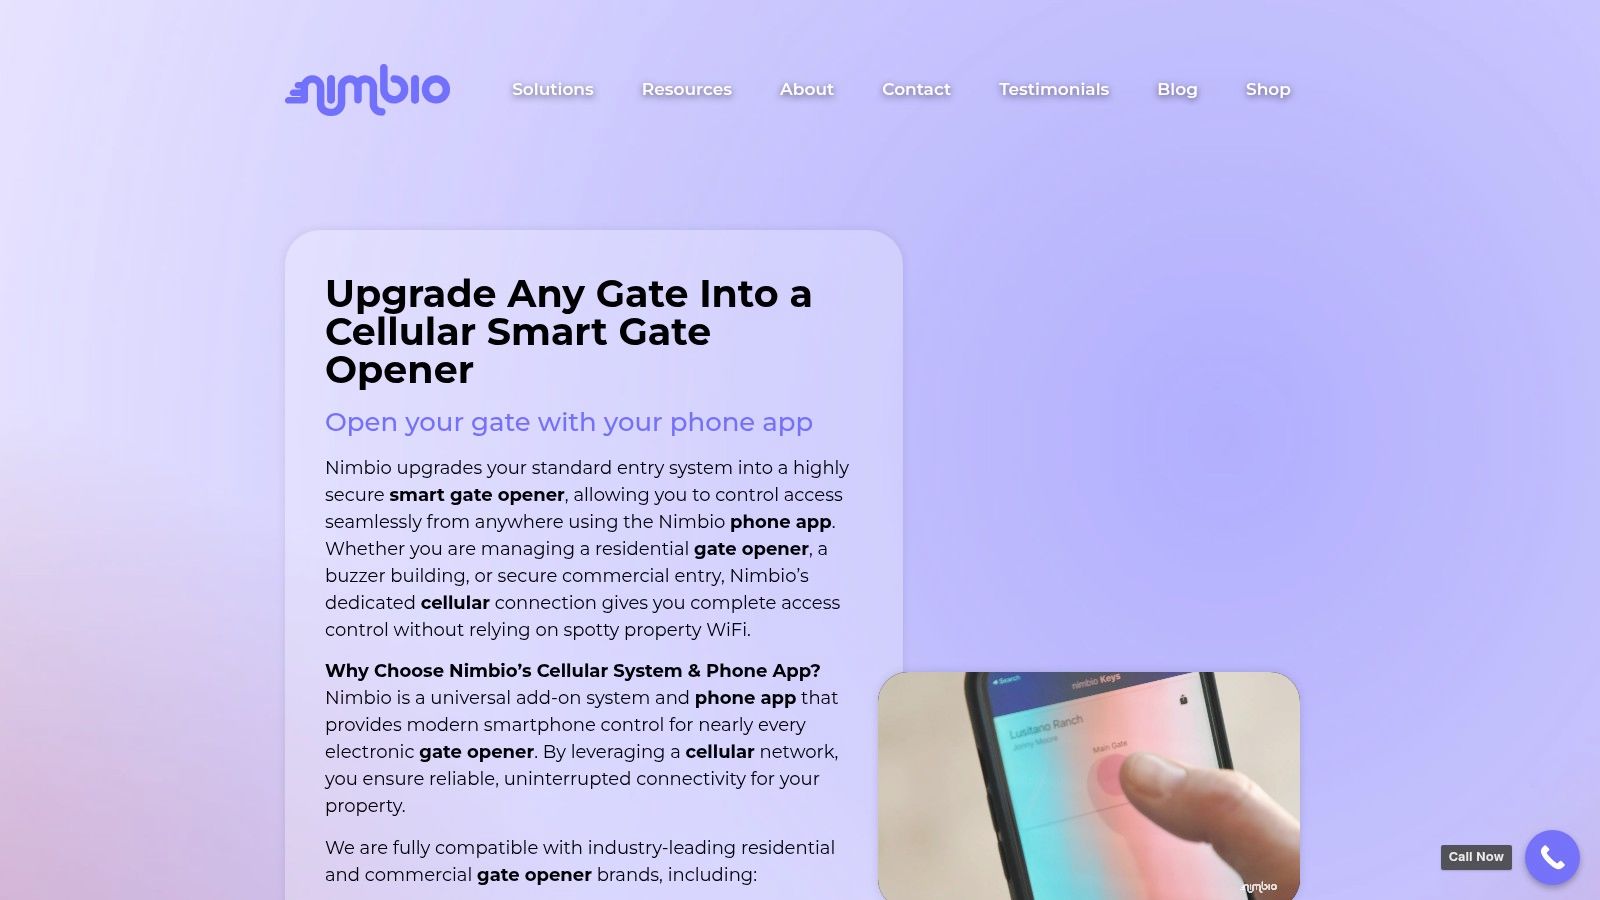
Passive recording is no longer enough
Traditional gate security often treats cameras and access devices as separate systems. One records video. Another opens the gate. A third system may track residents or visitors. That split creates delays and confusion.
A more effective model combines visual verification with remote entry control. When a visitor arrives, the resident or manager gets a real-time view, confirms the person, and decides immediately whether to allow access.
That approach also reduces the daily burden on staff. According to Avigilon's overview of mobile gate access control, mobile access control for gate entrances reduces long-term operational costs by eliminating the need to issue, track, and replace physical credentials like fobs or key cards, while also enabling remote permission adjustments and temporary visitor access through a smartphone app.
The operational gain is straightforward:
- Fewer physical credentials to manage
- Faster visitor handling
- Cleaner audit trails
- Less dependence on four-digit shared codes
- Better response when managers are off-site
For teams comparing how modern access platforms are evolving beyond older door and gate hardware, Future-proof Indiana business door access is a useful reference on where current access control expectations are heading.
What a better gate workflow looks like
The strongest gate setups pair cameras with remote permissions, scheduled credentials, and live verification. That's what turns a camera from a passive witness into an active decision tool.
A practical workflow usually looks like this:
| Step | Old process | Better process |
|---|---|---|
| Visitor arrives | Driver enters a code or calls a resident blindly | Resident or manager receives visual verification |
| Access decision | Shared PIN, guard call, or manual release | Remote approval through app-based control |
| Temporary access | Hand out a fob or reuse an old code | Grant time-bound visitor permissions |
| Audit trail | Piece together logs from separate systems | Match entry events to video and access activity |
A gate camera becomes far more valuable when someone can act on the image immediately.
Property teams should stop thinking in terms of “camera system” and start thinking in terms of smart community operations. The best setup isn't the one with the most devices. It's the one that gives residents convenience, gives managers control, and removes the friction of outdated credentials and unstable local networking.
Teams evaluating this shift can review 2026 property intercom insights for a closer look at how video-enabled entry workflows are replacing older gate call methods.
Verifying Your System and Ensuring Legal Compliance
Installation day isn't the finish line. A camera system should be tested like a real operating system, not admired like a completed hardware project.
Verification starts with behavior. The camera should trigger when expected, preserve a usable image in daylight and after dark, stay connected under normal property activity, and support the exact access decisions the property needs at the gate or shared entrance.
Test the system like a resident and like an intruder
A proper post-install checklist should include both routine and adversarial testing.
Use a real walkthrough that covers:
- Resident approach test: Confirm the camera captures normal entry behavior at the stop point.
- Visitor verification test: Make sure faces are visible where guests request access.
- Night and glare test: Review the image at dusk, after dark, and during headlight exposure.
- Tamper path test: Check whether anyone can approach the camera or gate controls without crossing another camera's view.
- Connectivity test: Confirm alerts, live view, and recordings remain available from the locations where managers will use them.
Documentation matters as much as the test itself. When footage may support an incident review, chain of custody and storage practices should be defined ahead of time. For teams tightening those procedures, AI Video Detector on evidence integrity offers a useful framework for preserving video in a way that supports later review.
Privacy compliance has to be built into placement
HOAs and multifamily properties carry legal exposure that single-home guides often skip. A camera might be technically functional and still be badly positioned from a privacy standpoint.
According to Security.org's review of security camera legality, 29% of HOA disputes in 2024 involved camera placement that violated reasonable expectation of privacy laws. That same guidance notes that many installer resources fail to address state-specific consent requirements, which creates risk for property managers responsible for shared spaces.
That changes how compliant home camera installation should be handled in shared communities.
- Avoid private-facing views: Don't aim into windows, balconies, bedrooms, or fenced private areas.
- Review audio settings carefully: Consent requirements can differ from video rules, especially in shared or private zones.
- Post clear notice where appropriate: Signage helps residents, guests, vendors, and boards understand where monitoring exists.
- Check state-level requirements: Federal-level summaries are often too broad for HOA enforcement and shared-property use cases.
- Coordinate camera purpose with policy: A camera for gate verification should be framed and retained differently than a camera for amenity oversight.
The safest legal position comes from narrow, purposeful coverage. Record what the property needs, and nothing more.
For teams that want a more modern operating model after installation, 2026 guide to cloud video surveillance is a useful starting point for organizing remote access, oversight, and auditability across managed properties.
Nimbio helps property managers modernize gate and building entry without replacing the systems they already have. Its cellular, hardware-agnostic platform supports smartphone-based access, remote visitor management, and reliable control that doesn't depend on local Wi-Fi. For communities that want cameras and access control to work as one practical system, Nimbio is built for that upgrade.