A garage door opener that hums, clicks, or goes silent can throw off an entire morning. For a property manager, HOA board member, or resident, that one failure can mean a stuck car, a missed vendor arrival, or a gate line that starts backing up fast.
The temptation is to order a replacement motor for garage door opener and move on. That works only when the motor is the problem, because many opener failures come from sensors, wiring, limits, or drive components that look like motor trouble but aren't.
Table of Contents
- When a Garage Door Motor Fails, What Do You Do First
- Diagnosing the Real Problem Before Buying Parts
- Choosing the Right Replacement Motor for Your Opener
- Installing Your Replacement Garage Door Motor
- Deciding Between DIY and Professional Installation
- Modernizing Access Control During Your Motor Upgrade
- Key Takeaways for Reliable Garage Door Operation
When a Garage Door Motor Fails, What Do You Do First
A dead opener doesn't always mean a dead motor. In the field, the first thing to check is whether the unit is failing or just protecting itself after a hard run, a loose connection, or a sensor issue.
Start with the obvious checks
A garage door opener motor is typically treated as a long-life component, with many sources placing service life at 10 to 15 years under normal use, and industry guidance often measures wear by cycles. One common benchmark is about 10,000 open-close cycles before replacement becomes likely, while a typical household using the door twice per day would accumulate roughly 730 cycles per year. Heavier-use homes can reach 1,500 to 2,200 cycles annually, which shortens lifespan to about 8 to 12 years. Cinch Home Services on opener motor lifespan and cycle wear
That matters because a motor that is near the 10-year mark, or one that keeps showing the same symptom after reset, is often past simple repair economics. But a motor that hums and stops may still be fine, while the door's sensor line, gear train, or wiring is the actual failure point.
Practical rule: if the door moved recently and now won't, don't buy parts first. Check power, sensors, and limit behavior before assuming the motor is toast.
A seasoned tech will usually separate a true motor fault from a system fault by watching what the opener does under load. A silent unit points one way, a unit that clicks or stalls points another, and a unit that starts then reverses often points somewhere else entirely.
For HOAs and property managers, that pause saves money and avoids ordering the wrong assembly. It also keeps a routine repair from turning into a week of backordered parts and frustrated residents.
Diagnosing the Real Problem Before Buying Parts
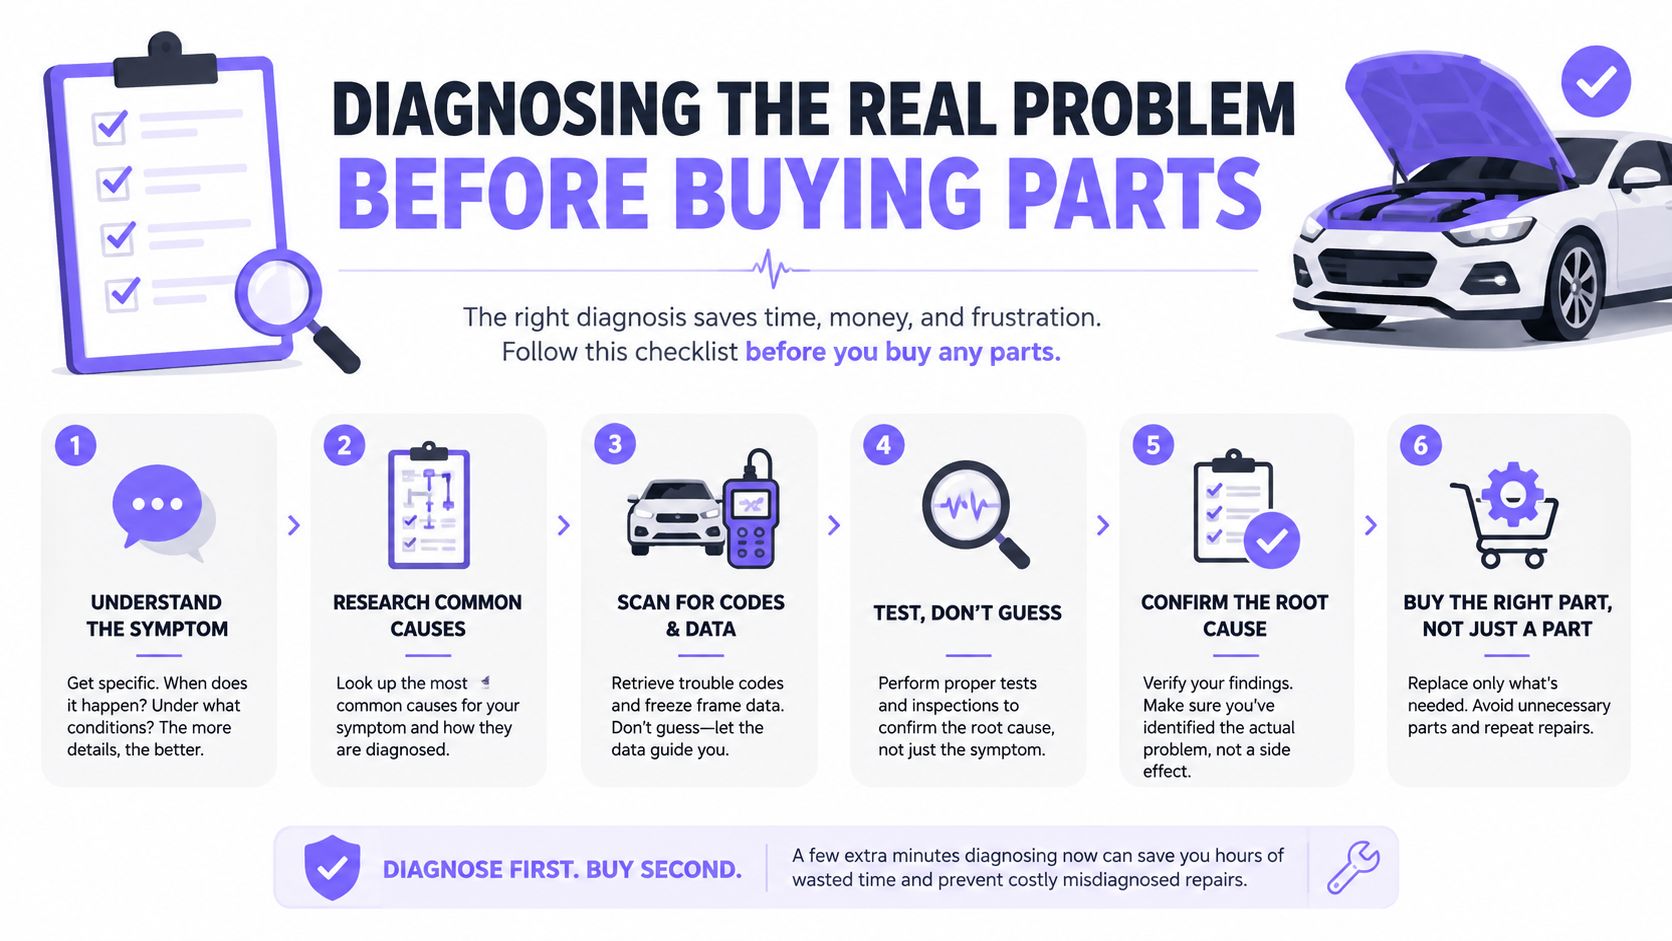
A garage door opener can look like it has a failed motor when the actual issue sits elsewhere. The fastest way to avoid a bad purchase is to test the system in the same order a repair tech would, starting with power and ending with motion.
Check the failure path, not just the symptom
Begin at the power source, then inspect the opener's wiring, the safety reversal sensors, and the visible drive components. If the opener has power but the door won't move, the problem may be in the gear train, the control board, the chain or belt, or a misadjusted limit setting rather than the motor itself.
A common miss is a broken torsion spring. The opener can still try to run, but the motor ends up fighting a load it was never meant to lift alone.
Use this quick field checklist:
- Verify power first: Confirm the opener is receiving power and hasn't tripped at the outlet or breaker.
- Inspect the sensors: Misaligned or dirty safety sensors can stop or reverse the door even when the motor is fine.
- Look at the drive system: Check for a slipped sprocket, worn chain, loose belt, or obvious binding in the rail.
- Watch the gears: Grinding, stripped teeth, or a damaged internal gear often mimic motor failure.
- Confirm the door balance: A door that's out of balance puts stress on the opener and can create motor-like symptoms.
A motor replacement won't fix a door that's fighting a broken spring or a dragging rail.
For multi-unit properties, diagnosis matters even more because one bad assumption can send maintenance chasing the wrong part across multiple units. That's where a tighter workflow helps, and an opener troubleshooting guide for HOAs can keep staff from repeating the same mistake on every callout.
When the opener is not the true failure point, the right move is usually a smaller repair, not a replacement motor for garage door opener.
Choosing the Right Replacement Motor for Your Opener
Once the motor really is the failure point, compatibility becomes the whole job. Major manufacturers sell motor kits that are model-specific, not universal, so the label on the opener matters more than the marketing copy on the box.
Match the opener before you match the motor
Chamberlain says its 041A6095 motor kit is only for certain LiftMaster and Chamberlain wall-mounted openers, and it explicitly tells buyers to check the owner's manual or parts diagram before ordering. Genie's replacement motor listings are also segmented by series and model, and one 24V motor assembly includes the motor, optical encoder, wiring harness, screws, and instruction sheet. Overhead Door Parts Online replacement motor kit listing
That's the core mistake buyers make. They shop by appearance or voltage alone, then discover the shaft, sensor type, or board interface doesn't line up.
Use this order:
- Read the opener label: Record the brand and exact model number.
- Check the parts diagram: Confirm the motor kit is listed for that unit.
- Match the drive architecture: Wall mount, chain, belt, and screw systems aren't interchangeable in practice.
- Verify the feedback method: RPM sensor, optical encoder, and control logic must align.
- Confirm the shaft and bracket geometry: If the gear or sprocket interface differs, the swap gets messy fast.
The cost picture also matters. A typical replacement job usually lands between $250 and $950 total in the U.S., with a 2025 nationwide average of about $600 and labor commonly estimated at $150 to $350. Cinch Home Services on garage door motor replacement costs California Garage Repair on installed cost averages
| Garage Door Opener Motor Replacement Cost Breakdown | Low End | Average | High End |
|---|---|---|---|
| Parts | $200 | $400 | $600 |
| Labor | $150 | $250 | $350 |
| Total Installed Cost | $250 | $600 | $950 |
A careful match avoids the most expensive mistake in this repair, buying a part that looks close but doesn't talk to the opener correctly.
Installing Your Replacement Garage Door Motor
The installation itself is usually straightforward once the correct part is in hand, but the work is unforgiving of sloppy steps. The opener has to go back together in the same mechanical and electrical orientation, or the limits and torque behavior won't calibrate correctly.
The sequence that actually works
Start by disconnecting power. That sounds basic, but it's the one step that keeps a repair from turning into a shock or a damaged control board.
Then document the existing wire locations before anything comes off. A quick phone photo of the terminals, capacitor leads, and sensor harness can save a lot of confusion during reassembly.
The standard field sequence looks like this:
- Remove the opener cover and old motor plate: Take off the old assembly carefully so the bracket and drive components stay aligned.
- Align the new gear and sprocket shaft: A misalignment here creates noise, strain, or early failure.
- Reconnect the capacitor and terminal block: The wiring has to land exactly where the original connections were.
- Attach the RPM sensor harness: If the sensor doesn't read correctly, the opener can misjudge travel or torque.
- Run a full open-close cycle: This resets travel limits and confirms end-stop behavior.
For chain-drive, belt-drive, and screw-drive units, the underlying sequence stays the same, but the feel of the adjustment changes. Chain units tend to show more noise if tension is off, belt units are quieter but reveal calibration problems through soft shuddering, and screw-drive systems can become unforgiving if lubrication or alignment is poor.
Safety warning: don't trust a first successful open cycle. The door has to close cleanly, stop where it should, and reverse correctly before the job is done.
The most common post-installation mistake is improper limit adjustment. If the door overshoots, stops short, or won't fully close, the limits need iterative tuning until the travel is clean on both directions.
For installers who also handle vehicle or gated access systems, the same discipline shows up in programming car visor buttons, because a clean mechanical install still fails if the endpoint logic isn't set correctly.
Deciding Between DIY and Professional Installation
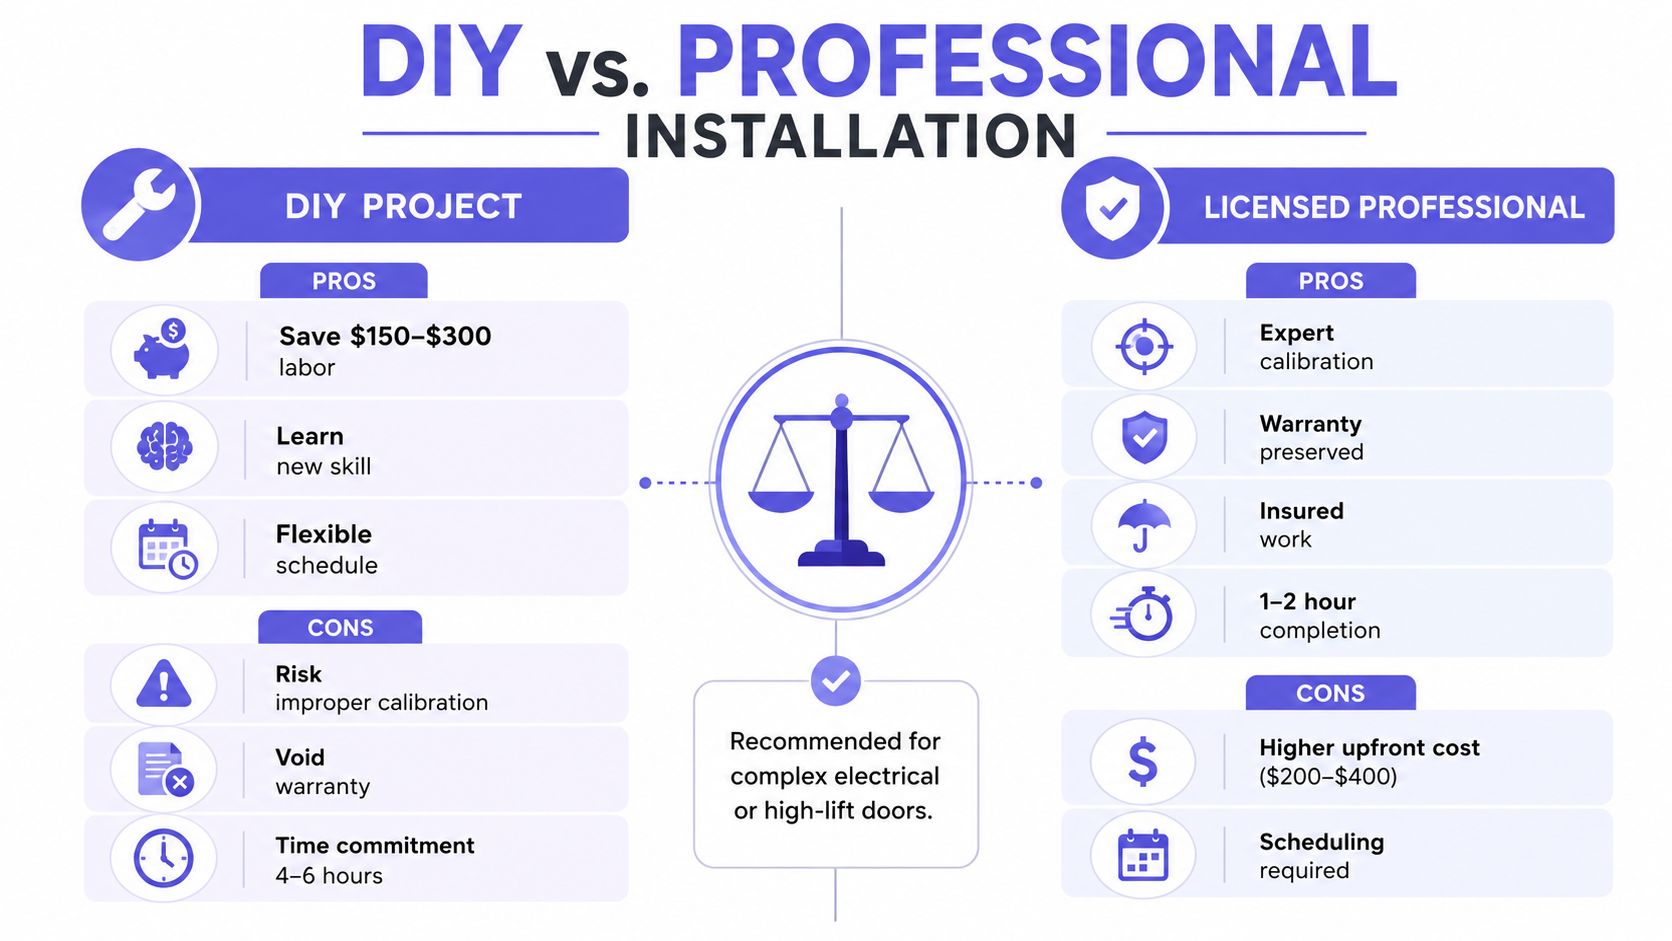
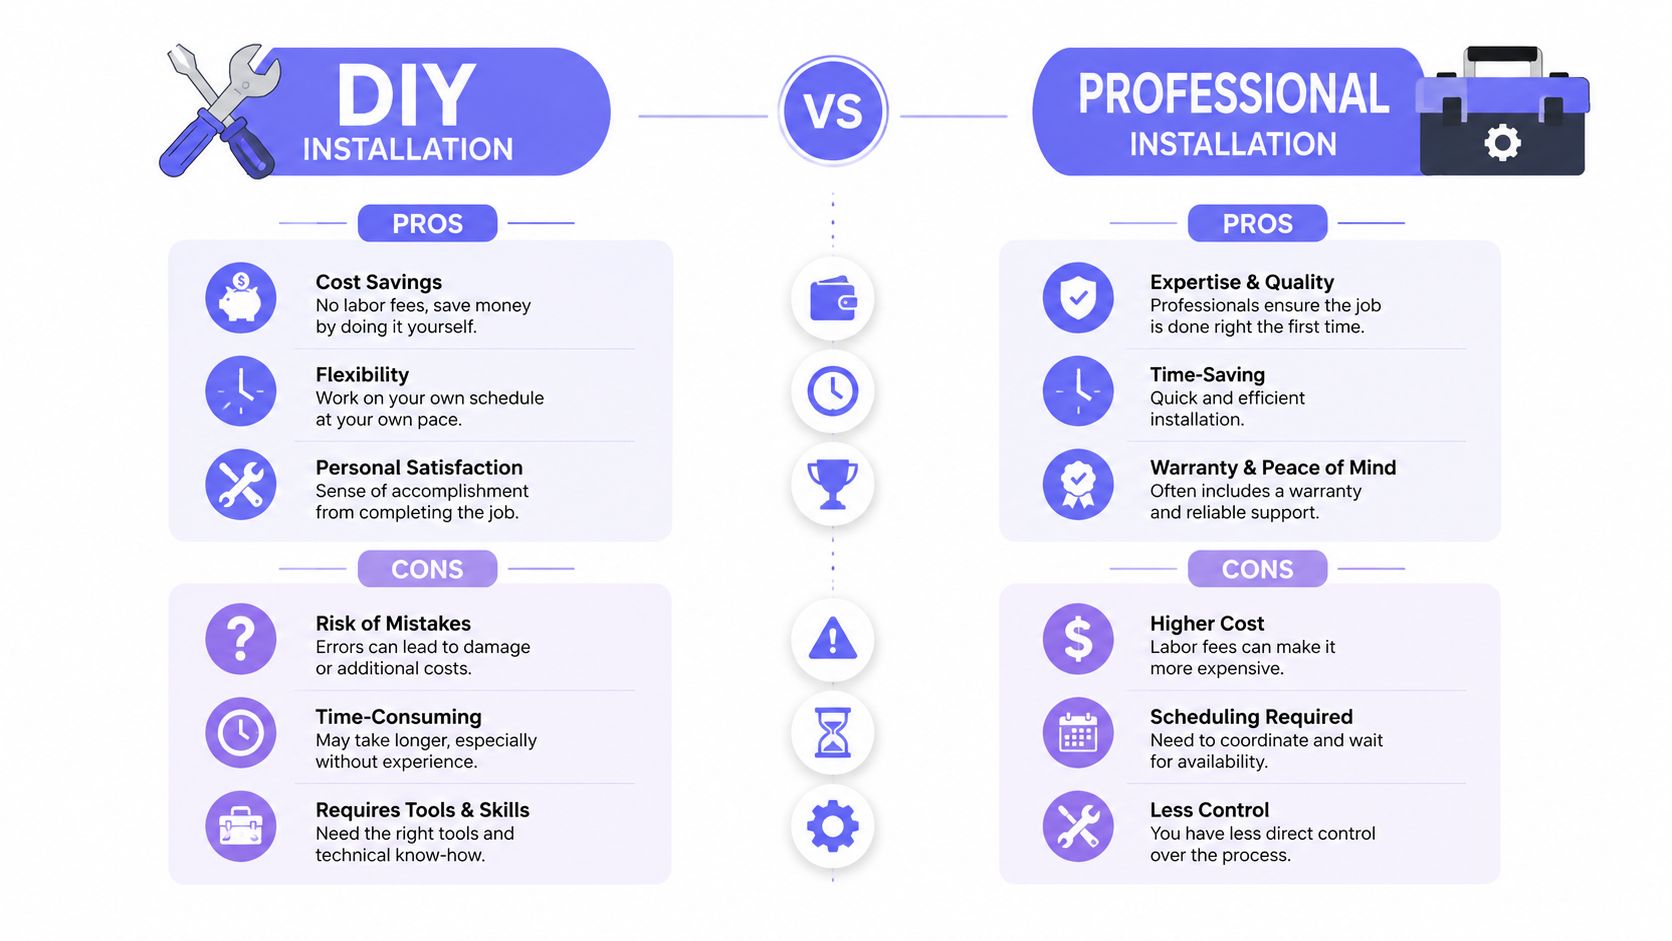
DIY makes sense only when the opener is accessible, the wiring is simple, and the door hardware itself is healthy. The job stops being a weekend fix when the door has a broken torsion spring, a damaged cable, or an opener that's already worn out internally.
Where the cost and risk split
Labor commonly runs $150 to $350 in the U.S., which is why many homeowners try the swap themselves first. But the trade-off isn't just cash, it's calibration quality, warranty protection, and the time it takes to get the limits right. Cinch Home Services on labor estimates and total replacement cost
A good contractor bid should be compared on more than price. Scope, part compatibility, labor warranty, and cleanup all matter, especially when the opener is older or the access point has already had repeat service issues.
For that part of the decision, vetting contractor bids is worth doing before anyone signs off on a repair. The cheapest quote often leaves out calibration, while the best quote usually explains exactly what's included and why.
Questions to ask before approving the work:
- What exact model is being installed? The answer should match the opener label or parts diagram.
- Is the labor guaranteed? Reputable techs stand behind the calibration, not just the part.
- Will the existing door hardware be inspected? A motor replacement shouldn't ignore worn springs, cables, or rollers.
- What happens if the unit is beyond repair? Sometimes a full opener replacement is the smarter spend.
For aging units, one practical rule keeps showing up in the field, if the opener is over 15 years old, the whole system may be more cost-effective to replace than to keep piecing it together. That's especially true when internal wear is showing up across multiple parts at once.
Modernizing Access Control During Your Motor Upgrade
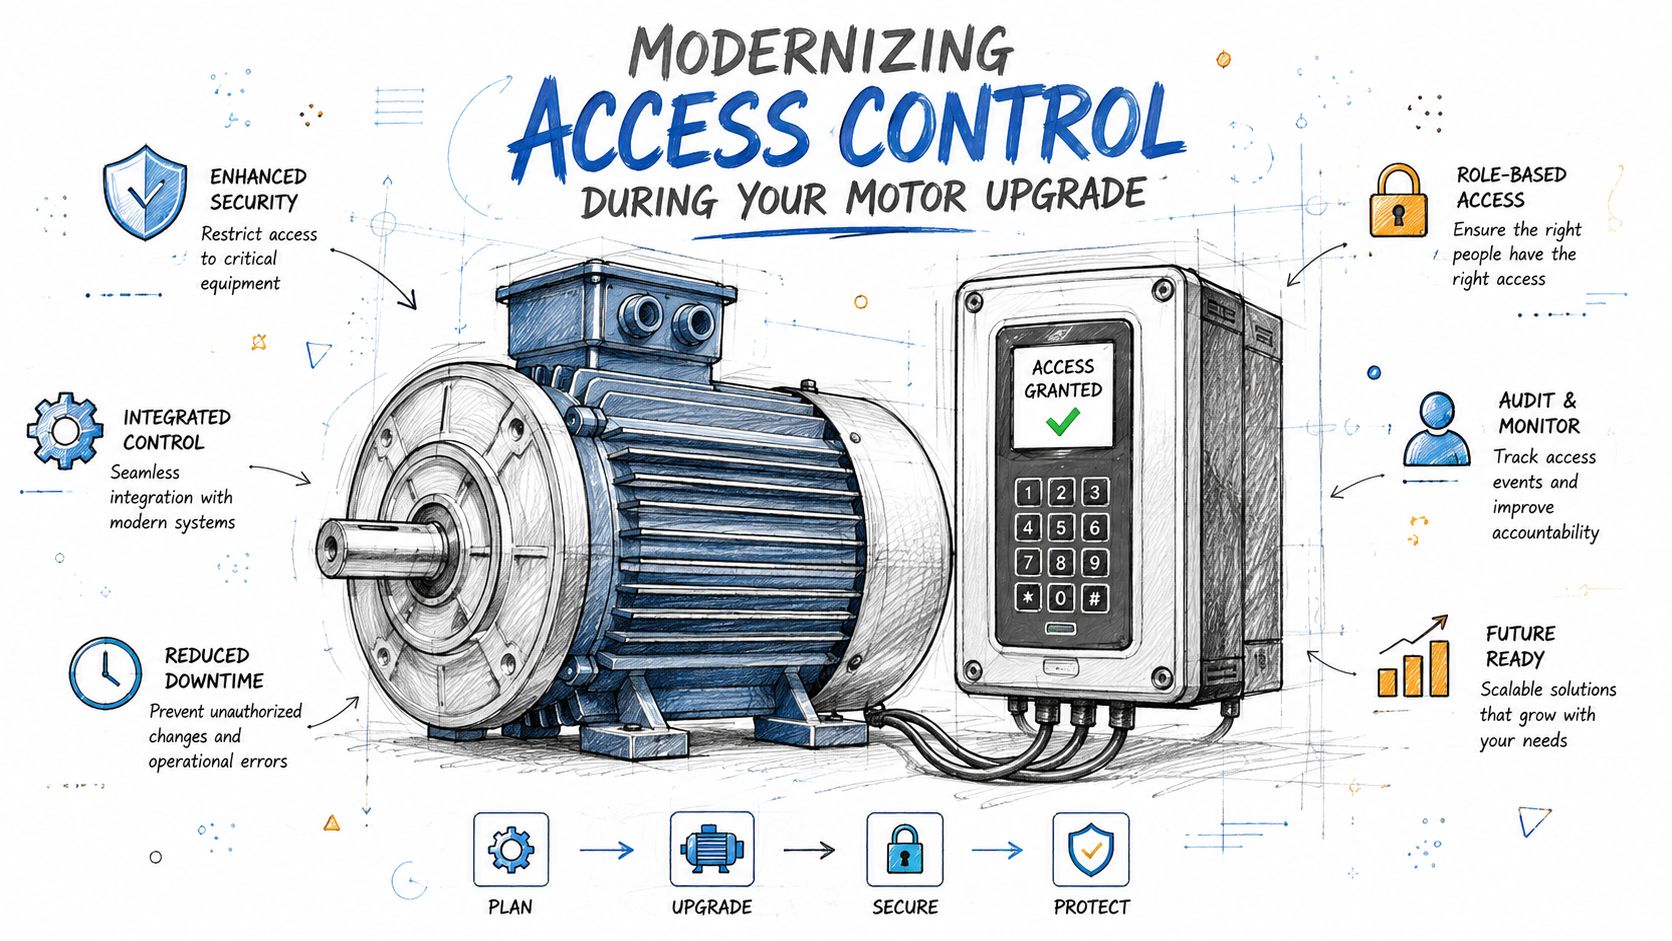
A motor swap is also a good moment to look at the bigger access picture. If the opener or gate operator is being opened up anyway, the access layer deserves a fresh look too.
Mechanical repair is only half the story
Older openers often do the job, but they don't give managers the control most communities now expect. They usually lack remote monitoring, activity logs, and flexible visitor handling, which leaves staff relying on shared codes, old remotes, or someone being physically present to grant entry.
For multifamily and HOA environments, that's where modernization starts to matter. A cellular-based controller keeps access working without depending on local Wi-Fi, which avoids the usual dropouts that can make maintenance calls more annoying than they need to be.
Remote visitor control is the other practical upgrade. Instead of handing out a single code to too many people, managers can grant, revoke, or schedule credentials and keep a record of who entered and when.
For a broader view of vehicle access at managed properties, vehicle entry control for property managers is a useful reference point when comparing system options. That same logic applies to garage entries, because reliability, auditability, and ease of use all matter once residents start depending on the system every day.
The planning conversation should also include future-proofing. If the opener is being replaced anyway, many teams use the moment to evaluate cellular gate controller choices so the access system can be managed from a phone instead of scattered around with fobs and keypad codes.
Modern access control isn't about making the motor itself smarter. It's about making the whole entry point easier to manage, easier to audit, and less dependent on a single piece of hardware working perfectly forever.
Key Takeaways for Reliable Garage Door Operation
A good garage door repair starts with diagnosis, not shopping. If the opener only looks dead, check power, sensors, wiring, and the drive train before buying a replacement motor for garage door opener.
When the motor really is the issue, match the exact model, not just the voltage. Horsepower, shaft geometry, RPM feedback, and control-board compatibility all matter more than a generic part description.
Keep these points in mind:
- Diagnose first: A motor-like symptom can come from springs, belts, sensors, or the control board.
- Buy by model: Manufacturer parts are often specific to one series or opener family.
- Install carefully: Power off, document wiring, align the shaft, then test the full travel cycle.
- Adjust limits last: Most post-install problems come from poor limit setup, not the motor itself.
- Look at the whole access system: A repair moment can also be the right time to modernize entry control.
For property managers and HOA boards, reliability is part of resident satisfaction and security. A garage door that works cleanly, and an access system that can be managed intelligently, reduces calls, confusion, and avoidable downtime.
If you're planning a motor swap or weighing whether to upgrade the entry layer at the same time, Nimbio gives property teams a cellular way to control gates and building access without Wi-Fi dependency, fobs, or keypad sprawl. It's a practical fit for communities that want simpler administration, remote access control, and a more modern path forward while the mechanical side of the property gets repaired.