A lock fails after hours, a resident is locked out, and the call log starts filling with the same complaint from three buildings. At that point, do it yourself door locks stop being a hobby topic and become an operations decision. Property managers and HOA boards need to know when a DIY fix is smart, when it creates liability, and when the answer is a retrofit access system that doesn't depend on another set of keys.
Table of Contents
- Why DIY Door Lock Installation Has Become the Standard
- Measuring Your Door Before You Buy Anything
- The Proven Installation Sequence That Prevents Misalignment
- Diagnosing and Fixing the Most Common Installation Failures
- Temporary Security Solutions and Their Hidden Risks
- When to Upgrade from DIY Locks to Cellular Access Control
Why DIY Door Lock Installation Has Become the Standard
At 2 AM, a property manager usually isn't comparing lock brands. They're trying to get one unit secure, keep the resident calm, and avoid a second trip in the morning. That reality explains why self-installation keeps winning in the field, especially for routine lock swaps and retrofit jobs.
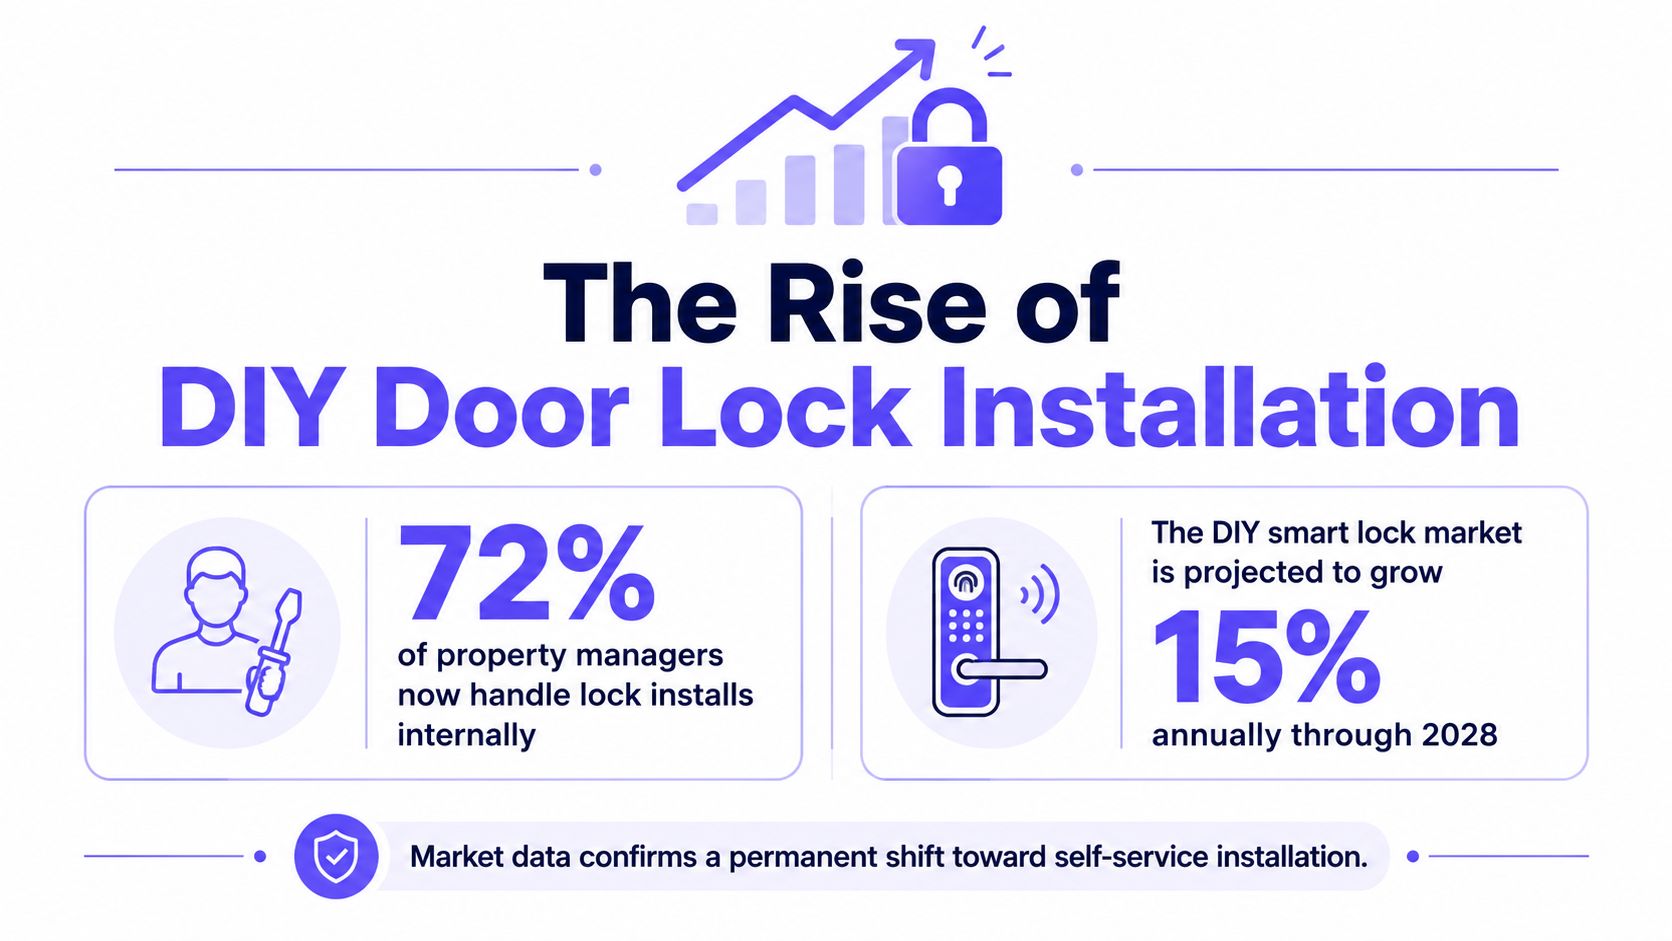
The market lines up with what managers already see on the ground. Grand View Research estimates the U.S. residential electronic home-locks market at USD 877.9 million in 2024, with a forecast to reach USD 1.9186 billion by 2033 at a 9.4% CAGR from 2025 to 2033. In that same market, the DIY installation segment held 65.29% of revenue in 2024 Grand View Research. That's not a niche preference, it's the dominant buying pattern.
Why the self-install model keeps spreading
The biggest reason is practical. Newer lock kits are packaged around templates, standardized prep, and simpler hardware, so an in-house tech can often complete a replacement without waiting on a locksmith.
The broader lock business is still large and mature, which matters here. IBISWorld estimates the U.S. Door Lock & Lockset Manufacturing industry at USD 6.2 billion in revenue by 2025, with 943 businesses and a 2.9% CAGR from 2020 to 2025 IBISWorld. That tells managers that DIY products aren't replacing the hardware category, they're thriving inside it.
Consumer behavior also reflects a broader shift toward connected entry hardware. Fortune Business Insights valued the smart-door-lock category at USD 3.50 billion in 2025 and projected it to rise to USD 17.75 billion by 2034 at a 19.70% CAGR Fortune Business Insights. For HOA boards and multifamily operators, that means self-installation is now part of a much larger access-control conversation.
Practical rule: DIY makes sense when the door prep is standard, the existing hardware matches, and the change is a like-for-like replacement. It stops making sense when the door is warped, the frame is out of square, or the new system needs coordinated credential management across many units.
What DIY can solve, and what it can't
DIY works well for routine replacement, simple retrofit, and temporary recovery after a failed lock. It's weak when the problem is repeated misalignment, weak door construction, or ongoing access administration.
That's why the decision is less about whether someone can turn a screwdriver and more about whether the lock problem is isolated. If the same door keeps failing, the issue usually isn't the lock alone. It's the door, the frame, the strike, or the access process around it.
Measuring Your Door Before You Buy Anything
The fastest way to waste time on a lock job is to buy hardware before checking the door prep. A lock that looks right online can still miss the bore, the backset, or the thickness of the door leaf. Once that happens, a quick swap turns into drilling, filling, or a service call.
The measurements that decide compatibility
Start with the door thickness. Then check the backset, which is the distance from the door edge to the spindle center and is typically 2 3/4 inches on many standard residential doors, though it can vary The New York Times. Measure the existing hole size, then confirm whether the latch faceplate and cross-bore match the new hardware.
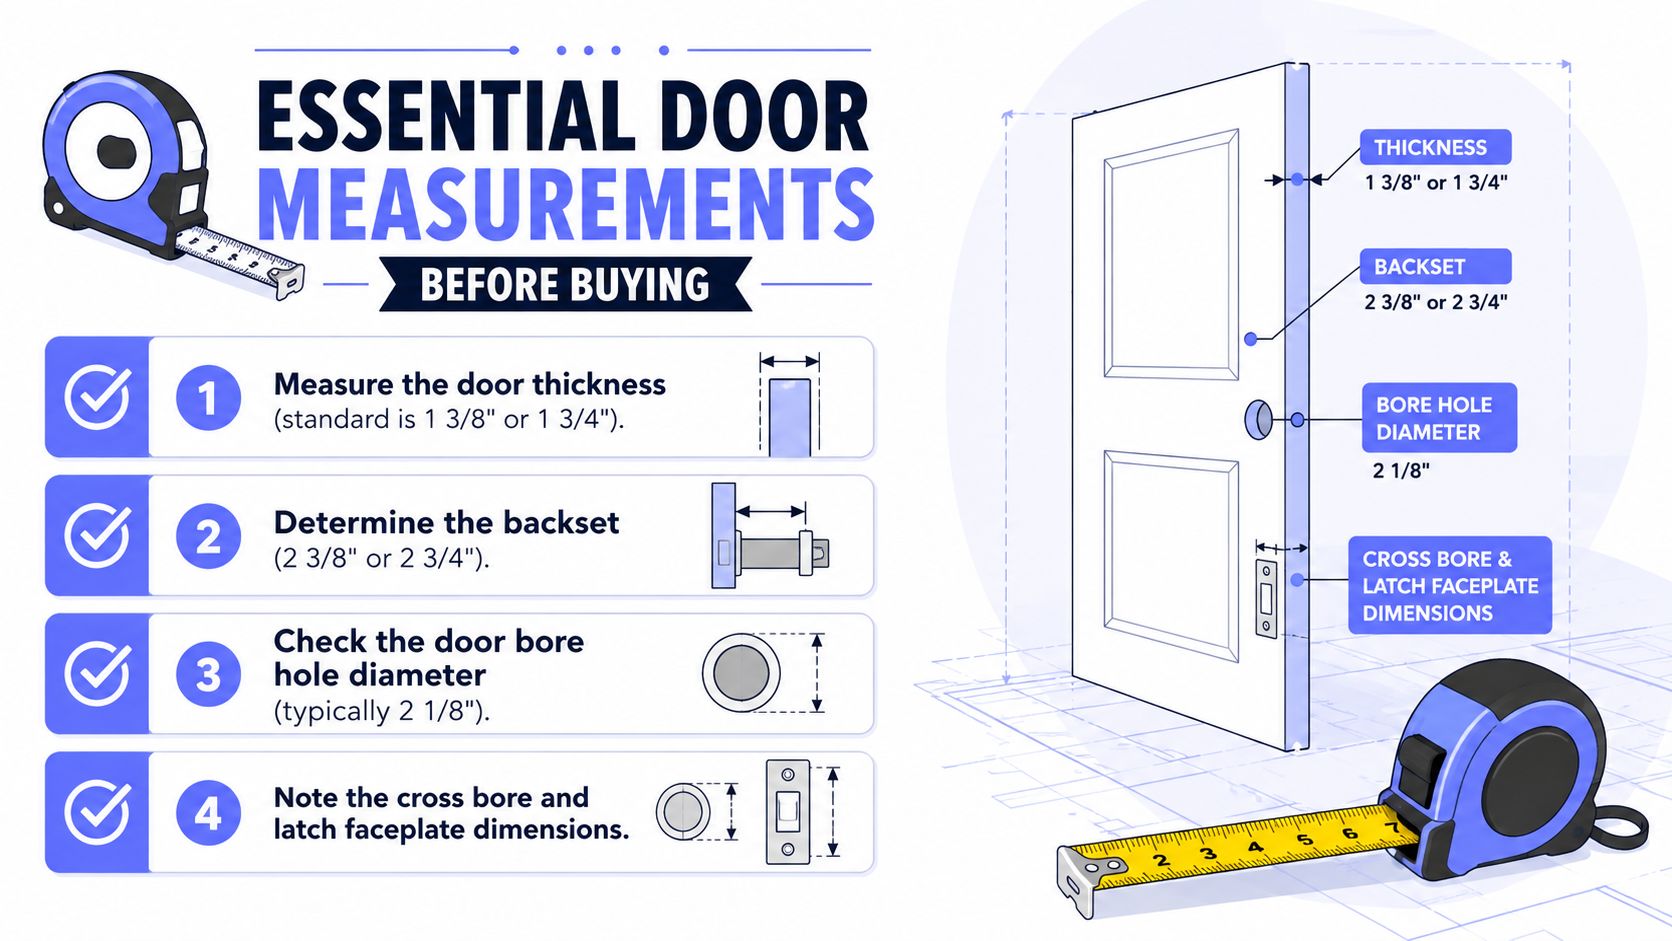
A quick field checklist helps avoid bad purchases:
- Door thickness: Match the lock to the actual slab, not the brochure photo.
- Backset: Confirm the spindle offset before ordering retrofit hardware.
- Door bore diameter: Verify the hole already drilled in the slab.
- Cross bore and faceplate dimensions: Make sure the latch sits flush and centered.
Why property teams should standardize the check
Portfolio work gets messy when every unit has a different prep. One building might have standard slabs, another might have older doors with odd bore patterns, and a third may have prior patchwork repairs.
A lock should be chosen for the door you already have, not the door spec you wish you had.
That's why seasoned crews measure first, then buy once. For managers handling multiple doors, a short template sheet beats a shelf full of nearly identical locksets that can't be used interchangeably.
The old rule still applies, the door decides the hardware, not the other way around. If the prep is non-standard, the job may still be doable, but it stops being a simple DIY swap.
The Proven Installation Sequence That Prevents Misalignment
The cleanest installs follow a sequence, not a guess-and-check routine. That matters because the main risk in do it yourself door locks is not a broken part, it's a hole that doesn't line up cleanly. Once the bores drift, the latch binds and the strike plate ends up carrying the load.
Drill in the right order
The most reliable workflow starts with the backset, then the supplied cardboard template. Mark the face-bore and edge-bore centers, then drill the face bore first with a hole saw and the edge bore second with a 7/8-inch spade bit This Old House. The face and edge bores need to meet cleanly, so the order matters.
That sequence is the difference between a lock that sits straight and one that drags. Sawdust should be cleared periodically, and pressure should ease as the bit exits the wood to reduce tear-out and keep the cut true.
For crews that keep a kit on hand, a packaged drill set like find the Ryobi installation kit can make the work more repeatable on standard slabs. The tool set matters less than the sequence, though. A good bit set won't save a misread template.
Finish the latch work without forcing the hardware
Once the bores are aligned, chisel the latch mortise carefully and secure the strike plate. Tightening the hardware before the latch moves freely usually creates the same callback later.
The field benchmark is simple. The latch should retract smoothly, and the key or knob should turn without resistance before the job is closed out. If the mechanism needs force, something is still off.
For strike alignment details, the most useful follow-up is the Nimbio door strike plate tips, especially on doors that look square but still catch at the jamb. That's where many DIY installs lose time.
Diagnosing and Fixing the Most Common Installation Failures
Most lock callbacks don't come from bad hardware. They come from doors that sag, frames that shifted, or strike plates that were never centered correctly in the first place. That's why a lock that “won't work” often works fine on the bench and fails only once it's mounted.
What to check before replacing the lock again
Start with the door itself. Check hinge condition, door thickness, frame squareness, and latch bevel orientation before loosening anything else. If the latch won't retract cleanly, the problem is usually alignment, not the cylinder or knob.
The practical test is straightforward, the latch should retract fully and the key should turn without grinding. If the knob binds, the strike plate is probably too tight, too high, or too low. If the door rubs at the top edge, hinge sag is often part of the problem.
A useful repair list looks like this:
- Tighten hinges first: Loose screws let the slab drift and create false lock problems.
- Adjust the strike plate next: A slight file on the opening can restore smooth engagement.
- Inspect for warping: A bowed door can make a good lock feel defective.
When DIY repair is enough, and when it isn't
Some fixes are ordinary maintenance. Others are warning signs that the door or frame is the core issue.
For a stuck latch or a lock that keeps hanging up, the Bulls Eye Repair door guide is useful because it focuses on the mechanical side of a latch that won't seat right. It pairs well with the Nimbio guide to electric strikes for teams evaluating whether a mechanical repair is worth another round or whether the access point needs a different approach.
Decision point: If tightening, filing, and alignment checks solve the issue, the door is a DIY repair candidate. If the same binding returns after a proper adjustment, the slab, frame, or hardware class is probably wrong for the opening.
There's also a door-construction limit that gets ignored too often. A Canadian construction-security guide notes that stile doors can be the weakest parts of some doorsets and specifies a minimum overall thickness of 45 mm (1 1/4 in.) for certain rail-and-stile construction Government of Canada publication. That's a reminder that some failures aren't about installation quality, they're about the door itself.
The cleanest field judgment is simple. If the lock works until the last quarter-inch of closure, the opening needs adjustment. If the door can't be made to seat consistently, the hardware is only part of the problem.
Temporary Security Solutions and Their Hidden Risks
Temporary lock fixes get suggested most often to renters, hotel guests, and people dealing with an emergency. The problem is that many improvised methods only create occupancy protection, a feeling of security while someone is inside, not reliable access control that resists entry. That distinction matters for safety and liability.
Why improvised fixes are a narrow fit
A door wedge or furniture barrier can help in a pinch, but only for certain openings and only for certain threats. Most DIY guides list makeshift options, but they rarely say when those methods become a fire-safety problem or a bad fit for outward-opening doors. They also tend to skip the legal side for rentals and shared properties.
That gap matters because a temporary barrier that blocks emergency egress can create a worse problem than the one it solves. A manager who recommends a stopgap should know whether the door opens inward or outward, whether the occupant can still exit quickly, and whether the building rules allow added hardware.
Compare the options before recommending one
The safest way to think about temporary security is by use case:
- Door wedges: Useful for inward-opening doors, weak against forced entry, and dependent on floor contact.
- Portable locks: Better for travel and private rooms, but not a substitute for a real deadbolt.
- Furniture barriers: Sometimes useful inside a room, but poor as a general access solution.
- Improvised tools: Ropes, forks, socks, and similar hacks may appear clever, but they're usually the least defensible choice in a property setting.
Temporary measures should be treated as short-term occupancy aids, not policy-level security.
For renters and guests, that line keeps expectations realistic. For property managers, it avoids recommending a fix that later becomes a maintenance or liability issue.
The practical takeaway is blunt. If the opening needs real security for more than a short interval, temporary tricks stop being a good answer fast.
When to Upgrade from DIY Locks to Cellular Access Control
DIY locks solve a door problem. They do not solve a credential problem. Once managers start juggling lost keys, shared codes, recurring battery issues, and recurring service calls, the right answer is usually a different access architecture, not another round of hardware swaps.
The signs the system needs more than a lock change
A building reaches the upgrade point when access changes happen often, users need remote entry, or the property team needs a reliable audit trail. That's where cellular access control changes the workflow. It doesn't depend on local Wi-Fi, so the controller can stay connected without the same dropouts that frustrate many smart-lock setups.
For retrofit projects, hardware-agnostic systems matter because they can modernize existing gates and entry points without a full tear-out. That is especially useful when the gate operator already works and the pain is really credential management, not the gate itself.
What the upgrade solves in day-to-day operations
A cellular retrofit does a few things mechanical locks never will.
- Remote visitor management: Staff can grant access without handing out physical keys.
- Access credential control: Permissions can be issued, revoked, or scheduled centrally.
- Activity visibility: Teams get a usable record of who entered and when.
- Lower friction at the gate: The system becomes part of property operations, not a manual chore.
For teams comparing role-based access workflows, access control tips for teams are worth reviewing because shared access is where most management mistakes show up first. The issue is rarely the lock face. It's who can get in, when, and how that access gets tracked.
One option in this space is Nimbio, which turns an existing electronic entry point into smartphone-controlled access over cellular service. That kind of setup fits properties where the lock itself is no longer the main problem.
Where the economics shift
The economic case usually shows up in reduced repeat visits, fewer key handoffs, and less time spent troubleshooting access. It also helps when a property needs a solution that stays usable even if local internet service is unreliable.
To see how that works in practice, the how cellular gate openers work overview shows why cellular control is a stronger fit than another standalone lock on the same old headache.
If your property is stuck in the same lock repair cycle, Nimbio can help you move past mechanical guesswork and into managed access control. Visit Nimbio to see how a cellular retrofit can simplify gate and entry management without replacing the hardware you already have.