You're sitting in the car, pressing the gate remote while the vehicle behind you waits. The indicator light may still glow, yet the gate doesn't move. A gate remote control not working doesn't automatically mean the clicker is dead. The fault may be the battery, transmitter, receiver, antenna, operator, power supply, or a safety circuit.
The fastest fix is to isolate those layers in order. Before buying a replacement remote, test another approved access method and observe exactly what the gate does. That symptom pattern usually tells more than repeated button presses.
Table of Contents
- Why a Gate Remote Stops Working and What to Try First
- Quick Checks Before You Open Anything
- Interference and Range Problems That Mimic a Dead Remote
- Reprogramming a Remote When the Code Is the Problem
- When the Problem Is the Gate, Not the Remote
- Preventative Habits That Keep Remotes Working
- Long-Term Upgrade Paths Beyond Clickers
Why a Gate Remote Stops Working and What to Try First
A remote failure is often diagnosed too narrowly. One resident's clicker may fail while a wall station still opens the gate. In that case, the operator is probably receiving commands correctly, and attention should stay on the remote, its battery, its contacts, its programming, or the radio path.
The first check takes only a moment. Try the wall button, keypad, intercom, key switch, or another approved remote. If another control opens the gate, don't start by opening the operator enclosure. The gate system is responding, so replacing or testing the affected remote makes more sense.
If no access method works, the remote may be innocent. The operator could have lost power, a photocell could be obstructed, the manual release could be engaged, or the control board and receiver could have a fault. A new clicker won't repair a failed gate system.
Practical rule: Diagnose by symptom, not by the part that happens to be in your hand.
A second pattern matters just as much. If the gate begins moving, stops partway, reverses, or behaves unpredictably, the problem has moved beyond remote control. Stop activating it and treat the behavior as a safety issue.
The useful question isn't just, “Why won't the remote work?” It's, “Which layer is failing?” The checks below move from the lowest-risk observations to model-specific programming and technician-level diagnosis. That order prevents a common mistake, buying a compatible-looking replacement remote before confirming that the receiver or operator is functioning.
Quick Checks Before You Open Anything
These checks require no tools beyond a battery that matches the remote. They're designed to separate a power problem from a transmitter problem and then from a receiver or gate fault.
Start with another control
Press the wall station, keypad, intercom, or a second approved remote. If one of them opens the gate, focus on the individual clicker. If none of them works, keep the remote closed and inspect the gate system instead.
Next, press the remote button while watching its indicator. A dark light suggests a battery, contact, pushbutton, or transmitter problem. A dim or flickering light can indicate weak power. A bright light still doesn't prove that the radio signal reaches the receiver, because the indicator circuit may need less power than the transmitter.
Fit the exact battery
Read the marking on the old cell or check the transmitter manual. Some gate remotes use 12-volt A23 or 27A batteries, while others use a 3-volt CR2032. The correct type depends on the transmitter model, not just the gate brand, as shown in this gate-operator battery troubleshooting guide.
Install the cell with the correct polarity. If the indicator remains dark, inspect the metal contacts for oxidation or displacement. A remote that has been carried in a damp vehicle, dropped, or stored with a button pressed may also have a cracked housing, moisture inside, or a stuck pushbutton. Clean contacts only as the transmitter manual permits, and don't pour liquid into the case.
Test close, then test normally
Stand immediately beside the receiver and press the remote. Then move to the usual driving position and test again. A response only at close range points toward reduced transmitter power, a damaged antenna, shielding, or interference. No response even beside the receiver points more strongly toward the transmitter, programming, receiver, or operator.
| What You See | Most Likely Cause | What to Try First |
|---|---|---|
| No indicator light | Battery, polarity, contacts, or transmitter fault | Fit the specified battery and inspect contacts |
| Dim or flickering light | Weak battery or poor contact | Replace the battery and check the contact points |
| Light appears, but no response anywhere | Lost enrollment, incompatible transmitter, receiver fault, or operator fault | Test another control before reprogramming |
| Works beside the receiver only | Weak signal, obstruction, antenna issue, or interference | Compare positions and inspect the antenna externally |
| One remote fails while another works | Individual remote or its programming | Check the failed remote before touching the operator |
| Every control fails | Power, safety circuit, receiver, operator, or mechanical fault | Stop buying remotes and inspect the gate system safely |
Battery life also changes with conditions. A consumer technical reference reports that alkaline batteries in typical garage-door-style remotes commonly last approximately 12–18 months, while lithium batteries may last about 2–3 years under normal daily use. The same reference reports that cold temperatures can shorten alkaline-battery life by roughly 30%, so an outdoor remote or one left in an unheated vehicle deserves earlier attention. See the battery guidance for gate-style remotes for those figures and symptoms.
Interference and Range Problems That Mimic a Dead Remote
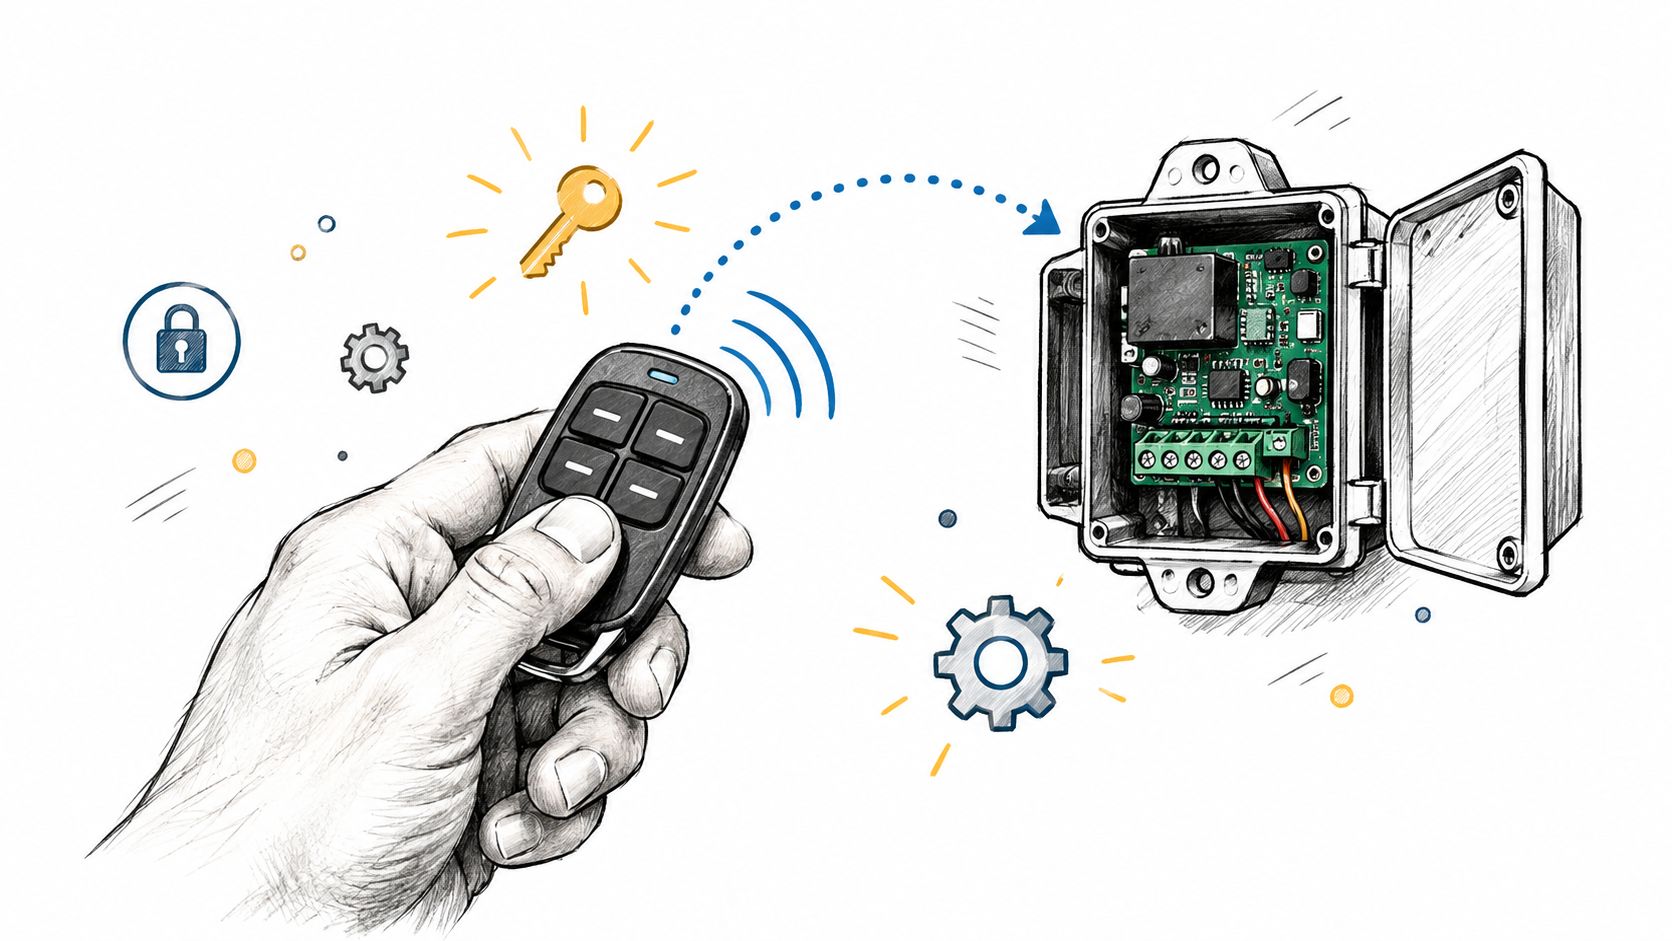
A remote can have a healthy-looking indicator and still fail because the receiver can't separate its signal from surrounding radio energy. The CISA RF interference guide.pdf) defines RF interference as unwanted energy that degrades performance, causes misinterpretation, or produces loss of information in a radio communication system.
For an electronic gate, interference can mask a short wireless command before the receiver processes it. Potential sources include nearby transmitters, vehicle ignition systems, lightning, solar activity, wireless equipment, and intentional jamming. New electrical equipment or a newly installed wireless device can change the radio environment without damaging the remote.
Use location as evidence
Test from several positions. Try beside the receiver, from the normal approach, from inside the vehicle, and from a different angle. If the remote works close to the operator but fails from the driveway, the transmitter is producing at least some usable signal. The next suspects are range, shielding, antenna placement, or interference.
Large metal objects can obstruct the radio path. A vehicle, metal gate, reinforced structure, or operator enclosure can affect reception depending on the receiver's position. Manufacturer guidance also identifies blocked signals, large metal objects, strong radio signals, and poor antenna placement as causes of reduced working distance. The operator antenna and range documentation recommends an external receiver antenna positioned approximately 1.5 meters above the operator in the relevant installation.
Intermittent failure deserves a time-and-location check. Note whether the gate fails only after a vehicle moves, when nearby equipment starts, or after a new wireless device is installed. CISA recommends recognizing, responding, reporting, resolving, and building resilience around interference events, along with inspecting transmission components regularly and after severe weather.
Don't reprogram a remote just because it works only from a short distance. Programming can restore authorization, but it won't correct a screened antenna or a noisy radio environment.
Reprogramming a Remote When the Code Is the Problem
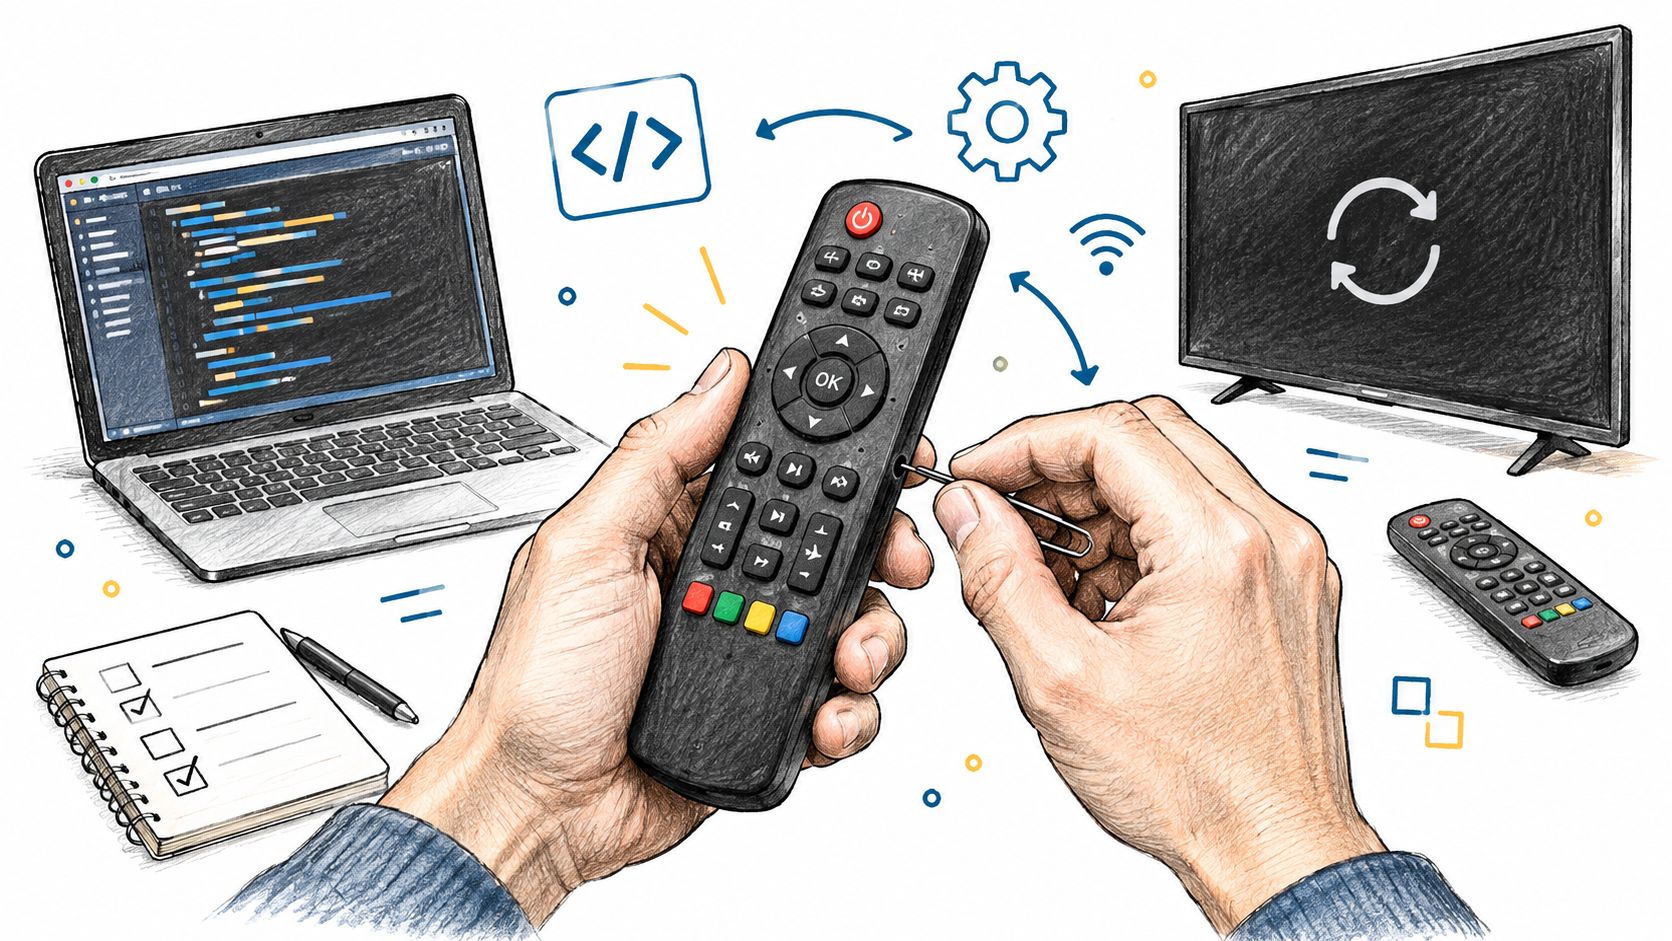
A remote may illuminate and transmit while lacking valid authorization in the receiver. Many modern systems use rolling-code security, where the transmitter and receiver use changing codes rather than one fixed command. A replacement or previously unused transmitter generally must be enrolled with the receiver.
The broad enrollment sequence is consistent across many systems:
- Put the receiver or control board into its learn mode.
- Activate the transmitter as directed by the manufacturer.
- Watch for the receiver's confirmation light or other confirmation.
- Test the remote with the gate area clear.
The exact buttons, timing, memory procedure, and indicator pattern vary by manufacturer and model. A LiftMaster-related specification describes rolling-code security and a 3-volt CR2032 transmitter battery, while other operator manuals use different transmitter formats. The LiftMaster receiver and transmitter documentation explains why model compatibility matters.
Reprogram only after isolation
Programming makes sense when a compatible replacement was never enrolled, a remote was removed from receiver memory, or an existing remote lost authorization after receiver or control-board work. It isn't a useful first response to a dark indicator light or a remote that works only beside the receiver.
Multiple remotes failing together also changes the diagnosis. A shared memory reset, receiver problem, antenna issue, or operator fault is more likely than simultaneous battery failure. Test the wall station or keypad before entering learn mode.
Keep the gate area clear of people and vehicles while programming. Use a fresh battery and observe the receiver confirmation indicator. Never guess at a learn button sequence, because some boards use related controls for adding remotes and clearing stored remotes.
A wrong frequency, code format, or transmitter model can't be corrected through repeated pairing attempts. If the manual is missing, the receiver model is uncertain, or programming requires access to live electrical equipment, a qualified gate technician should handle it.
When the Problem Is the Gate, Not the Remote
The strongest evidence is simple: every approved control fails. If the remote, keypad, wall button, and intercom all produce no useful response, buying another clicker is usually the wrong move.
Observe the operator without placing anyone near the moving gate. Does the motor stay silent? Does it click but not move? Does the gate begin travel and stop? Does it reverse? Each pattern can point toward power, a control input, a safety circuit, a manual release, mechanical resistance, or the operator itself.
Check safety inputs without bypassing them
Look at the travel path and remove ordinary obstructions from a safe position. Check whether photocell lenses are dirty or visibly misaligned. Confirm that the emergency release is disengaged if the operator manual identifies its position and checking it can be done safely. Don't bypass photocells, bridge safety inputs, force a moving gate, or repeatedly activate an unpredictable operator.
Public gate specifications require a gate to reverse on contact with a rigid object or stop when a non-contact sensor detects an object. They also require safety sensors to remain installed and functional, and state that the gate shouldn't be used when safety devices don't perform as required. One public specification sets a minimum safety-testing interval of once every six months, as detailed in the public gate safety specification.
A functioning remote can deliver a valid command while the operator correctly refuses to move because a safety condition is active.
Look for the operator's fault indicator, but don't assign meaning to a flashing light without the exact manual. Local requirements vary. Property managers and installers should also check applicable standards such as UL 325 and ASTM F2200, along with local requirements, rather than assuming one rule applies everywhere.
If the gate moves without a command, reverses unexpectedly, has damaged wiring, shows no power, or fails through every access method, stop troubleshooting. A qualified technician can test the receiver, antenna, power supply, safety inputs, control board, and mechanical components without turning a resident into the next part of the fault circuit. For properties that need a remote-access layer added to an existing operator, managers can also review how to retrofit a cellular gate opener, while leaving safety repairs to a qualified professional.
Preventative Habits That Keep Remotes Working
Small maintenance habits catch weak signals and unsafe gate behavior before a resident is stuck at the entrance. A property manager can keep the process model-agnostic and record observations rather than guessing at repairs.
A seasonal checklist
- Replace aging batteries: Remotes with alkaline cells older than 12 months deserve immediate testing, based on the battery maintenance guidance cited earlier.
- Account for cold weather: Check alkaline-powered remotes sooner after freezing exposure, since cold can reduce their practical life.
- Inspect the housing: Look for cracks, moisture, worn buttons, and loose battery contacts.
- Test range from several positions: A change in working distance can reveal antenna, shielding, or interference problems before total failure.
- Keep the radio path sensible: Don't store a remote on a metal surface beside other electronics when intermittent operation is already present.
- Check the gate safely: Clean and align photocells according to the operator manual, confirm that the manual release isn't engaged after an outage, and keep the travel path clear.
- Run a safety review: Perform the operator's safety checks at least as often as the applicable specification requires, including the six-month interval identified in the public specification.
A spare remote should be stored somewhere dry and temperature-stable, not loose in a hot vehicle or exposed to vibration. For HOAs and gated communities, a written record of which remotes fail, whether another control works, and whether the gate moves unpredictably gives a technician better evidence than “the clicker stopped.”
Managers comparing alternatives can also review smartphone gate access features as part of an access-control maintenance plan, while keeping physical credentials available.
Long-Term Upgrade Paths Beyond Clickers
Repeated lost remotes, frequent battery failures, and changing access lists can justify adding another access method. A cellular retrofit is one example. Nimbio's controller connects over cellular LTE, so it doesn't need Wi-Fi at the gate, and it wires into the existing gate operator rather than requiring gate replacement. Existing clickers, fobs, and keypads keep working alongside the app.
Property managers can issue or revoke digital keys remotely and set an expiration date on a key. Visitors can be let in remotely, including video verification at the gate. For teams comparing physical credentials, a separate explanation of a gym RFID key fob system can help clarify how fobs are used in another access setting.
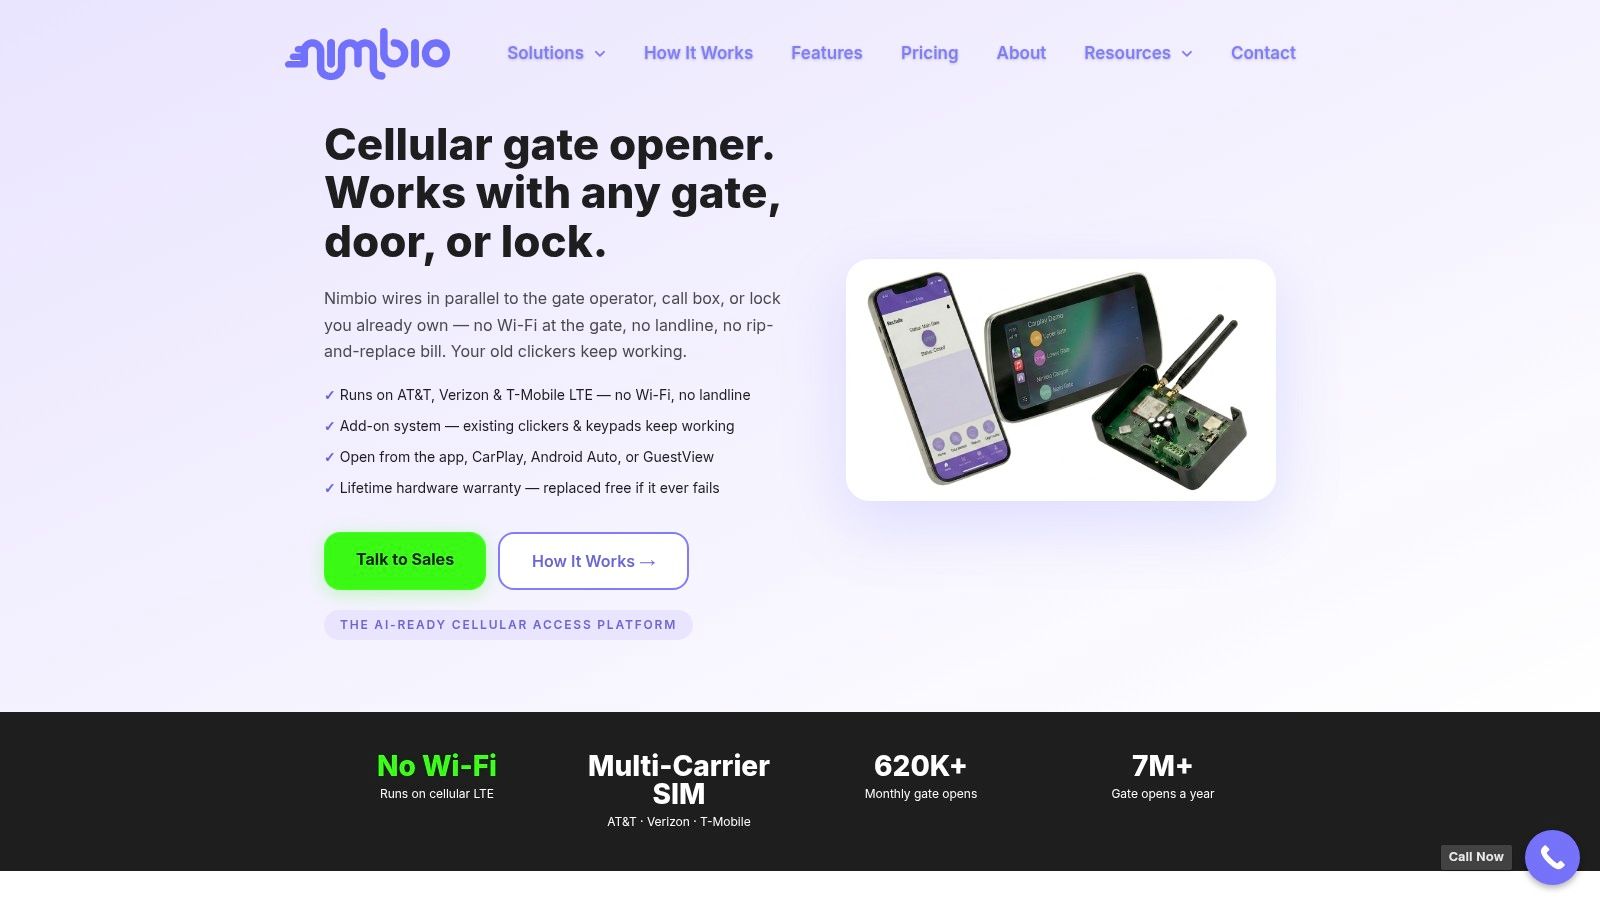
A GSM gate opener can be considered as an additive access path, not a reason to remove working clickers or keypads. The right choice depends on the operator, property workflow, and the access problems that keep recurring.
Nimbio offers a cellular LTE controller and smartphone app that work with an existing electric gate operator while preserving current clickers, fobs, and keypads. Property managers can issue and revoke digital keys, set expiration dates, and let visitors in remotely with video verification. Visit Nimbio to see whether that approach fits the property's gate access needs.