A resident rolls up to the gate with groceries in the back seat, taps the visor button, and nothing happens. The same thing can happen at the garage door, where HomeLink with LiftMaster works in one house, then fails in the next because the car, the opener, and the security protocol have to match as a pair, not as a single button press.
For property managers and HOA boards, that mismatch matters because the same system that's easy for one homeowner can turn into a support problem across an entire community. For installers, the job gets clearer once the pairing flow is treated as a two-system handshake, not a magic trick.
Table of Contents
- Why HomeLink and LiftMaster Pairing Trips People Up
- Preparing Your Car and Opener Before Programming
- Programming HomeLink to a LiftMaster Opener
- Troubleshooting When HomeLink Still Will Not Cooperate
- Identifying Your LiftMaster Security Generation
- Where HomeLink Stops Working for Shared Community Gates
- A Cleaner Path for LiftMaster Gates at Scale
Why HomeLink and LiftMaster Pairing Trips People Up
The first clue is usually a frustrated resident standing at the gate, pressing the visor button, and watching nothing happen. The second clue is the opposite problem, the door opens for that one car, but nobody else in the community has a clean way to manage access.
HomeLink isn't just a garage-door button, it's an integrated in-vehicle RF transceiver that can be programmed for garage door openers, estate and community gates, entry door locks, and lighting (HomeLink support). LiftMaster systems, meanwhile, have moved through different security generations, so the handshake that works on one opener may fail on another even when the button on the car looks identical.
Practical rule: if the car and opener don't speak the same security language, repeated button pressing won't fix it.
That's why the process usually has two timed windows. Installer guidance commonly calls for clearing stored HomeLink memory by holding the two outer buttons for about 20 to 30 seconds, then pressing the LiftMaster Learn button and returning to the vehicle within about 30 seconds to press the programmed HomeLink button (Continental Door). If the resident misses either window, the system acts like the pairing failed even when the steps were close.
The important mindset shift is simple. HomeLink with LiftMaster isn't a one-step command, it's a matching exercise between the car's transmitter, the opener's receiver, and the rolling-code security layer. Once that's understood, the rest of the job gets a lot less mysterious.
What the resident usually sees
- Nothing at all, the opener never responds.
- One-time success, then the button stops working later.
- Partial pairing, the indicator light behaves correctly, but the door never moves.
Those symptoms point to a timing issue, a compatibility issue, or both.
Preparing Your Car and Opener Before Programming
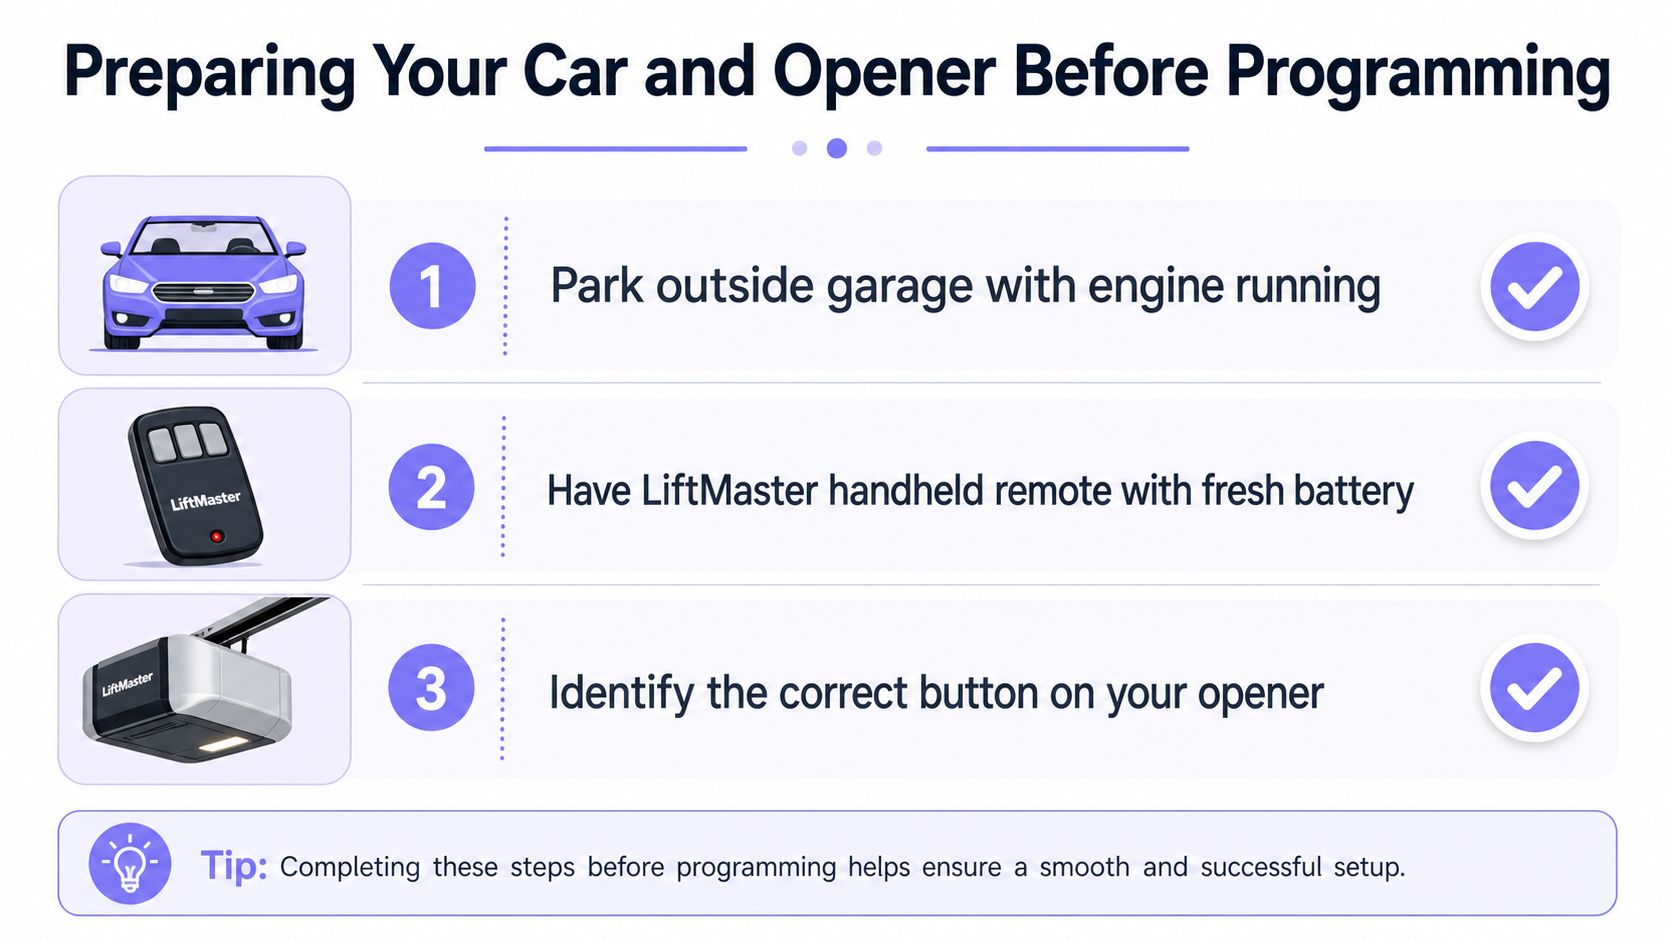
The mistakes start before anyone presses a button. Park the vehicle outside the garage, identify the opener first, and have the handheld LiftMaster remote ready with a fresh battery. A weak remote shortens the training range, and the car may never learn the signal even if the rest of the process is done correctly.
The setup that saves time
The opener's Learn button is usually under the light cover near the antenna wire. That matters because the vehicle has its own timing window once learning begins. During training, hold the handheld remote and the HomeLink buttons about 2 to 3 inches apart until the indicator changes from a slow flash to a rapid flash (HomeLink bulletin). That flash change is the checkpoint, not a decoration.
A clean setup looks like this:
- Park outside with the engine running if needed. Some vehicles need steady power while the HomeLink buttons are trained.
- Keep the LiftMaster remote ready. A fresh battery helps the short-range capture step.
- Locate the opener's Learn button first. If the light cover has to come off, do that before touching the car controls.
A short checklist helps on real jobs:
- Vehicle position: outside the garage, clear line of sight.
- Remote condition: handheld LiftMaster remote tested and powered.
- Opener identification: note the Learn button color and security generation.
- Working space: no one standing near the door path during verification.
The job goes faster when the opener is identified before the car starts training. Guessing later usually costs more time than walking to the unit once.
For residents who also need gate access, gate transmitter pairing follows a similar logic, but the opener type still decides which pairing path applies. On shared properties, that split matters even more, because a car, a gate receiver, and a community access system may all need different handling. When a site is already moving toward a cellular retrofit, that separate access path is often easier to manage than trying to force every resident through the same handheld-remote process.
Programming HomeLink to a LiftMaster Opener
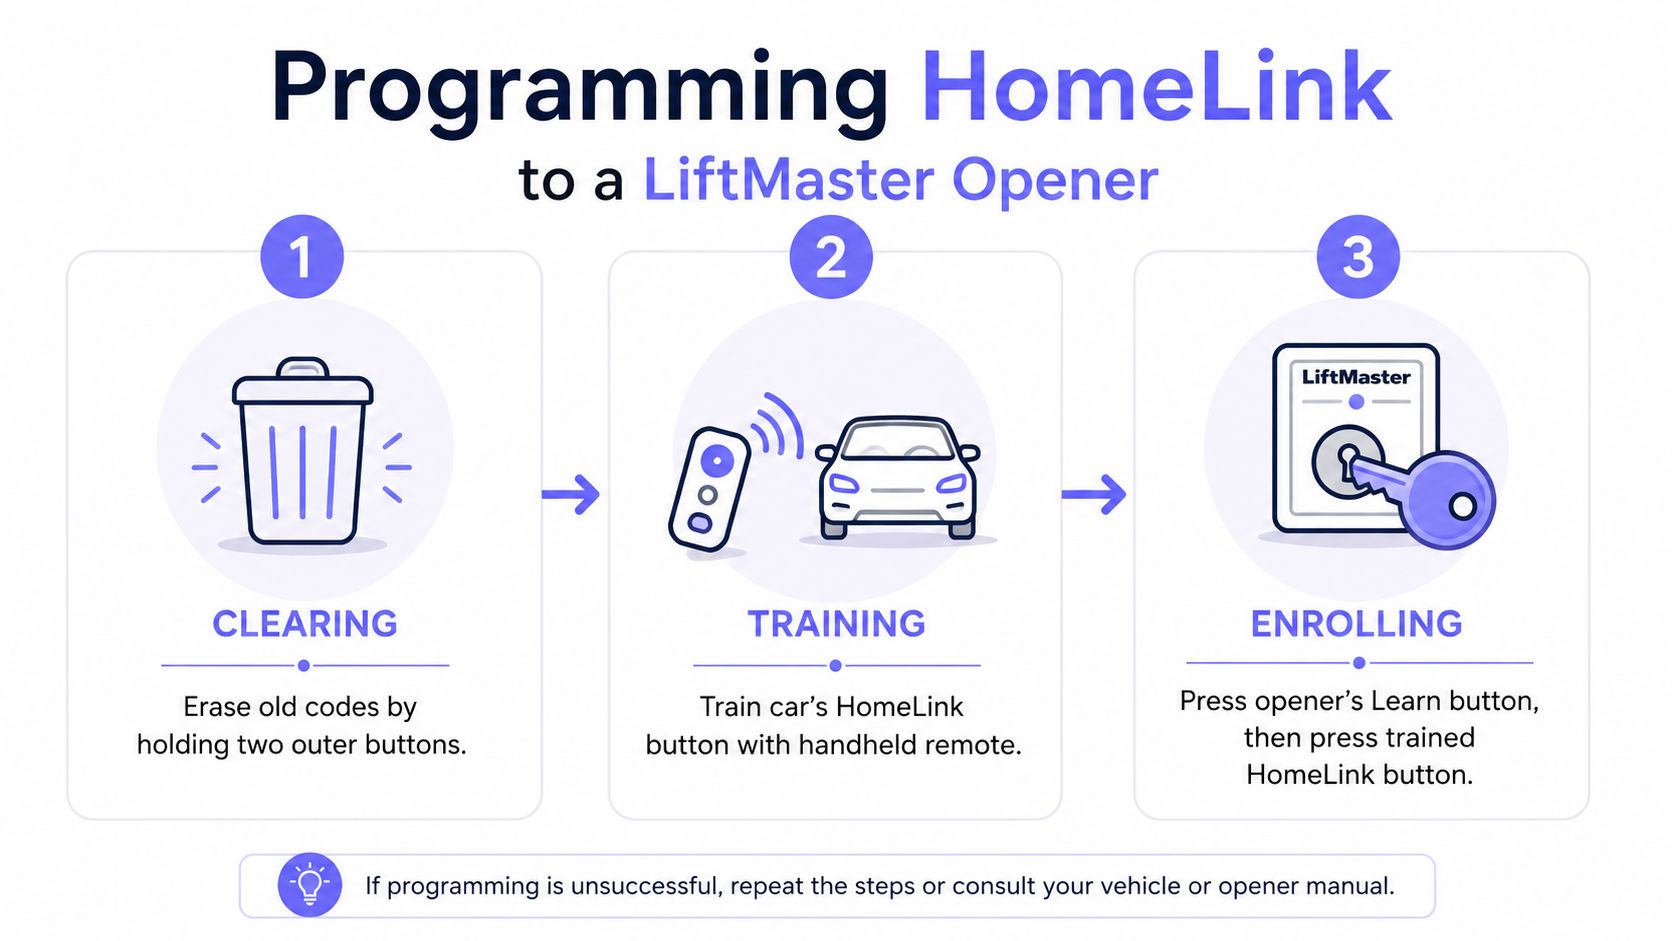
A HomeLink and LiftMaster pairing only behaves well after both sides of the handshake are trained. The car has to learn the remote code first, then the opener has to accept the vehicle as a valid transmitter. If one side is skipped, the button may light up in the dash and still do nothing at the door.
Clear the old memory first. Hold the two outer HomeLink buttons until the indicator clears, which installer guidance places at about 20 to 30 seconds (Continental Door). Old stored signals can get in the way, especially after a vehicle changes hands or a resident moves to a different property.
Keep the LiftMaster handheld remote and the target HomeLink button 2 to 3 inches apart during training. Hold both buttons until the HomeLink indicator shifts from a slow flash to a rapid flash. That flash change tells you the car captured the remote code (HomeLink bulletin PDF).
Now enroll the car at the opener. Press the opener's Learn button, then return to the vehicle within about 30 seconds and press the programmed HomeLink button (Garage Door Pedia). On many systems, the opener light blinks once or the door moves when the enrollment takes.
Newer Security+ 3.0 units can ask for one more step. Press the HomeLink button again one, two, or three times until the door starts moving, which is different from older fixed-code behavior (YouTube tutorial). That repeated press is where a lot of otherwise clean jobs stall.
A quick verification rule keeps the process honest:
- First press: may only wake the opener.
- Second or third press: often triggers the door on rolling-code systems.
- No response after timing out: repeat the Learn-button sequence from the start.
For shared properties, the same logic applies to access hardware, including linking driveway gate transmitters. A car, a gate receiver, and a community access system can each need a different pairing path, and that split is why the factory flow starts to break down on newer openers and larger sites.
Troubleshooting When HomeLink Still Will Not Cooperate
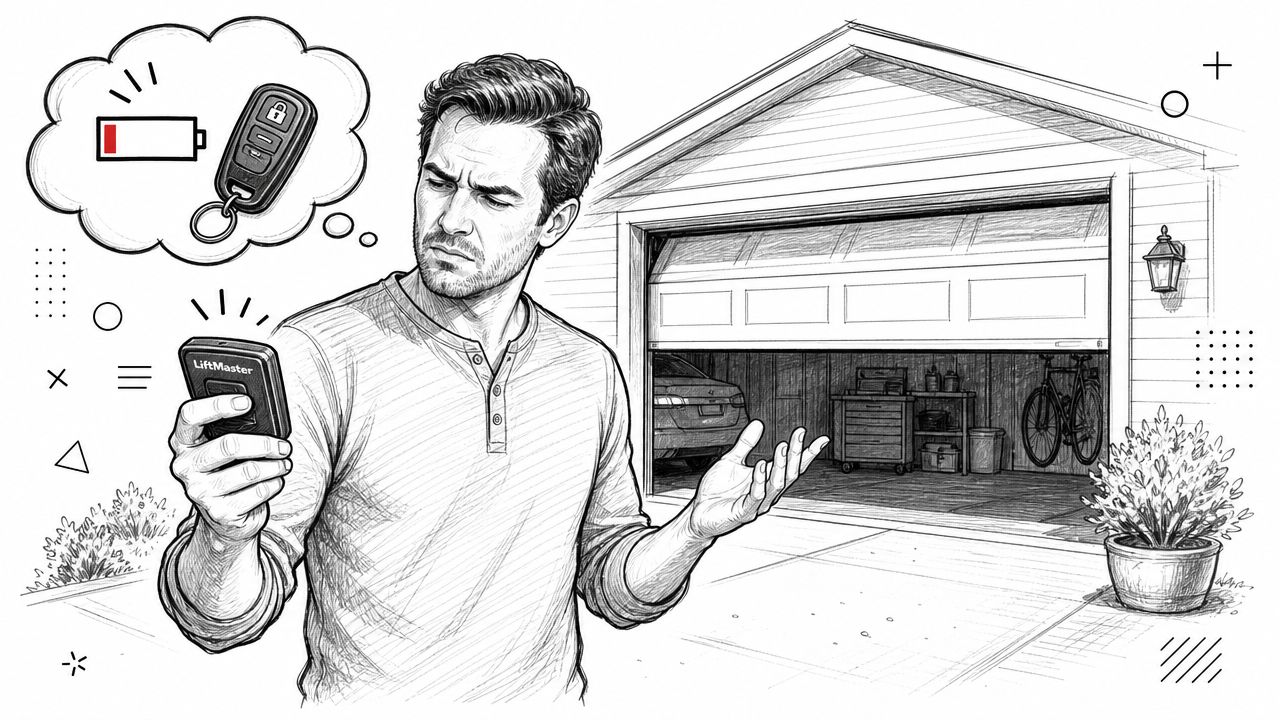
When pairing looks successful but nothing moves, the problem is usually specific, not vague. The most common complaint is that the HomeLink light trained correctly, but the opener never responds after the Learn step.
Match the failure to the likely cause
Start with the remote battery. A weak handheld remote can still flash a training signal, but it may not transmit strongly enough for a reliable capture distance.
Next, look at compatibility. A major gap in basic how-to content is that Security+ 2.0 and newer LiftMaster systems often need an extra compatibility step, and some vehicles may need a HomeLink firmware update at a dealer or service center (TechGeekTips). That update step is easy to miss because the car can look ready while the radio code still won't translate correctly.
Then check the opener environment. LED bulbs can create interference near the motor head, and the antenna wire should hang freely rather than being tucked away. If the resident says the remote only works when held very close, that points to signal strength or interference before it points to a bad opener.
A quick decision tree helps:
- Does the handheld remote work from normal range? If not, replace the battery first.
- Did the HomeLink indicator change from slow flash to rapid flash? If not, the car didn't learn the remote signal.
- Is the opener a newer Security+ system? If yes, repeat the Learn-button step and verify the final press pattern.
- Did the door open once, then stop? That often means the repeat-press confirmation step was skipped.
For newer vehicles, the factory flow sometimes falls short because the opener and the car need a software-aware handshake, not just a button sequence. That's why a result that looks close can still fail in the field.
Identifying Your LiftMaster Security Generation
The fastest way to avoid dead ends is to identify the opener before programming starts. If the opener is treated like an older fixed-code unit when it is really a Security+ 2.0 or Security+ 3.0 system, the resident can repeat the wrong sequence all afternoon.
The practical tells
The Learn button color is one of the quickest clues, and so is the age of the opener. The round yellow antenna wire and the button color together usually tell the installer whether the opener belongs to a newer security family or an older one.
Older in-vehicle HomeLink systems generally cannot pair directly with Security+ 2.0 units manufactured after 2011, and the HomeLink Compatibility Bridge (HOMELINK RPTRMC / 855LM family) is intended for those units to translate the signal into a compatible format (LiftMaster bridge page). Vehicles from about 2013 and newer are more likely to support Security+ 2.0 without the bridge, which changes the recommendation immediately. The split matters because the car and opener have to complete a clean handshake, and some combinations will never get there with the factory flow alone.
| LiftMaster opener generations at a glance | |||
|---|---|---|---|
| Generation | Approx. era | HomeLink pairing | Bridge required? |
| Older fixed-code style | Older units | Usually simpler, but not consistent with newer cars | Sometimes, depending on vehicle system |
| Security+ 2.0 | After 2011 | Often direct with newer vehicles, harder with older in-car systems | Yes, for older in-vehicle HomeLink systems |
| Security+ 3.0 | Newer systems | Requires repeat-press confirmation on many setups | Sometimes, depending on vehicle and opener path |
If the opener looks new but the car is older, the gap is usually in the vehicle, not the motor head.
For gate operators at larger properties, the distinction matters because the same opener family often sits behind multiple access decisions. A homeowner can work through it once, while a community manager has to think about repeatability across many vehicles, residents, and turnover events.
For readers comparing equipment, secure your gate with LiftMaster only if the pairing path and resident support model still make sense for the property.
Where HomeLink Stops Working for Shared Community Gates
HomeLink works well for a single car at the curb. In a shared community, it hits a ceiling fast, because it was built as a personal transmitter, not as an access system that a manager can administer across residents, turnovers, and revoked credentials.
The property manager's problem
A resident can program HomeLink to a community gate, and that car will keep opening the gate whenever it is in range. If the resident moves out, the manager cannot just log in and turn that access off. Someone has to collect hardware, reset vehicles, or accept that a visor button may still be paired to the community operator.
That is the operational gap. HomeLink can activate garage doors, estate gates, entry locks, lighting, and other RF devices (HomeLink support), but it does not give a property manager the same control model as a cloud-based system. There is no clean revocation workflow for a lost in-car transmitter, and no practical way to audit which resident used which button at a specific moment.
Why that matters in the field
- Lost control: the hardware has to be physically tracked down.
- Weak turnover process: a former resident's access can linger in the vehicle.
- No central scheduling: access cannot be managed like a credential list.
- Support overhead: every failed car pairing becomes a service ticket.
For larger communities, the cleaner answer is often to replace key fobs for gated communities with a managed access platform. That gives the manager a control point at the desk instead of relying on whatever is still programmed inside a resident's car. It is a different operating model than a visor button, and it usually becomes the practical choice once the gate has to serve many residents without creating more manual work.
A Cleaner Path for LiftMaster Gates at Scale
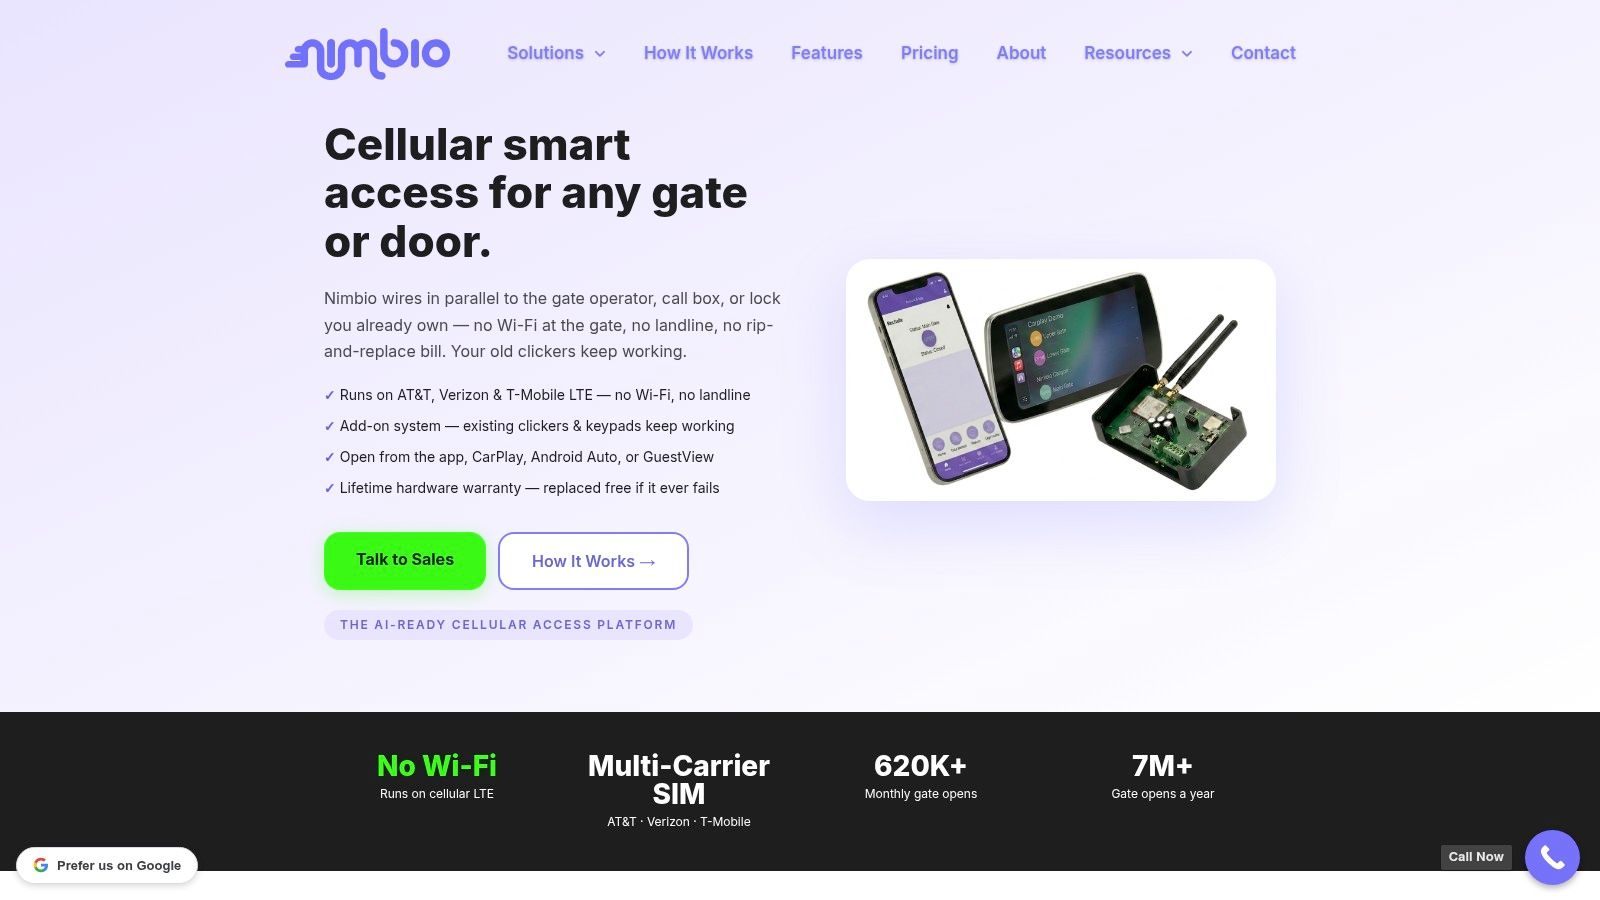
For a single homeowner, HomeLink with LiftMaster is still a sensible convenience feature. For a property manager handling a community gate, the cleaner long-term answer is usually a cellular retrofit that turns the existing gate hardware into a smartphone-controlled access point without replacing the operator.
Why the retrofit model fits the property manager
The first advantage is cellular connectivity. The system doesn't depend on resident Wi-Fi, so it avoids the usual drop-off points that come with home routers, shared networks, or weak coverage near the gate. That matters because access control should work at the perimeter, not only when the network feels cooperative.
The second advantage is hardware-agnostic retrofit. A cellular controller can be added to an existing LiftMaster operator, which means the community doesn't have to rip out a working gate just to modernize the access layer. That's usually the most practical path when the gate motor still has life left in it.
The third advantage is remote administration. Property managers can grant, revoke, and schedule digital access from a dashboard, and that changes the job from chasing clickers to managing credentials. It also supports visitor handling in a way visor buttons never could, since access can be time-bound and controlled from anywhere.
The practical trade-off
A retrofit doesn't eliminate HomeLink. Residents who like visor-button convenience can keep it on their own vehicles where it still makes sense. The property, though, gains a cleaner system for turnover, visitor management, and auditability.
For gated communities, that split is often a significant win. HomeLink stays a local convenience, while a cellular access layer handles the parts a car-mounted transmitter was never designed to manage.
A CTA for Nimbio.